

 All about ikats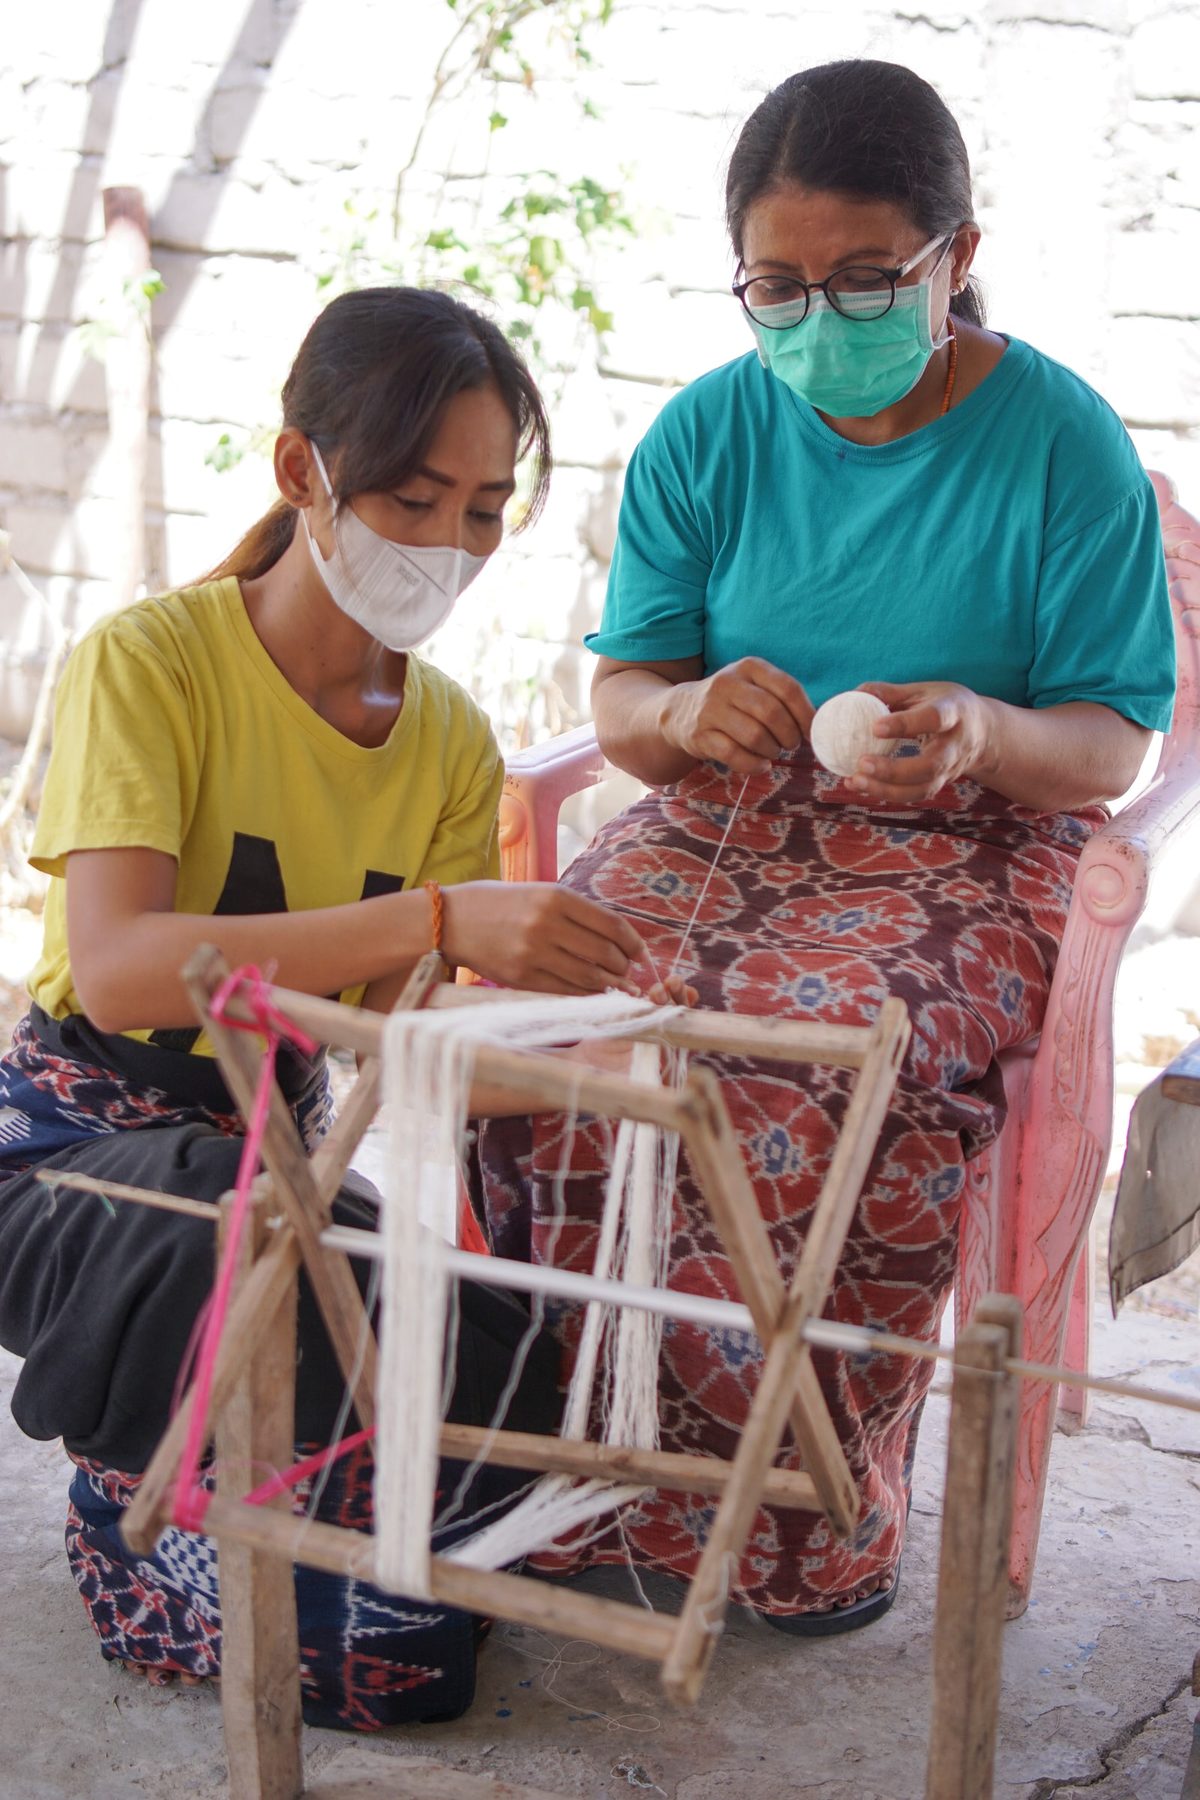
01
Kabukul
Preparing the cotton yarn
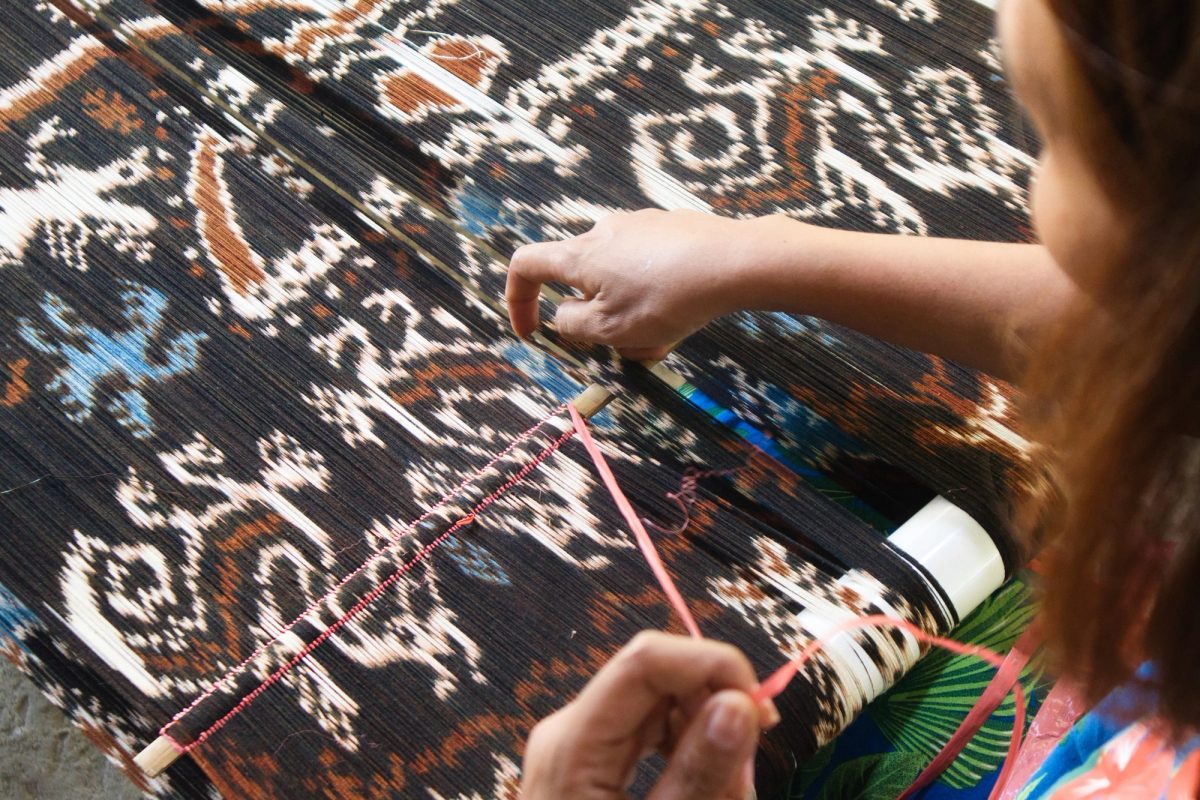
Cotton is spun into yarn and wound into compact balls by hand.
From cotton to cloth
Explore how Sumba ikat is made through seven stages and 28 steps, from preparing cotton and tying motifs to natural dyeing, weaving and finishing.
A living sequence
See how Sumba ikat is made in East Sumba: seven stages carry the cloth from cotton and resist tying through natural dyeing and weaving to the finished fringe.
Stage 01 / 07 · 1 step
The cloth begins with cotton. Fibres are spun into yarn with simple tools, then wound by hand into compact balls. This patient first stage gives the weaver an even, dependable thread and keeps a close connection between the material and the hands that prepare it.
Preparing the cotton yarn
Cotton is spun into yarn and wound into compact balls by hand.
Make it yourself
Stage 02 / 07 · 6 steps
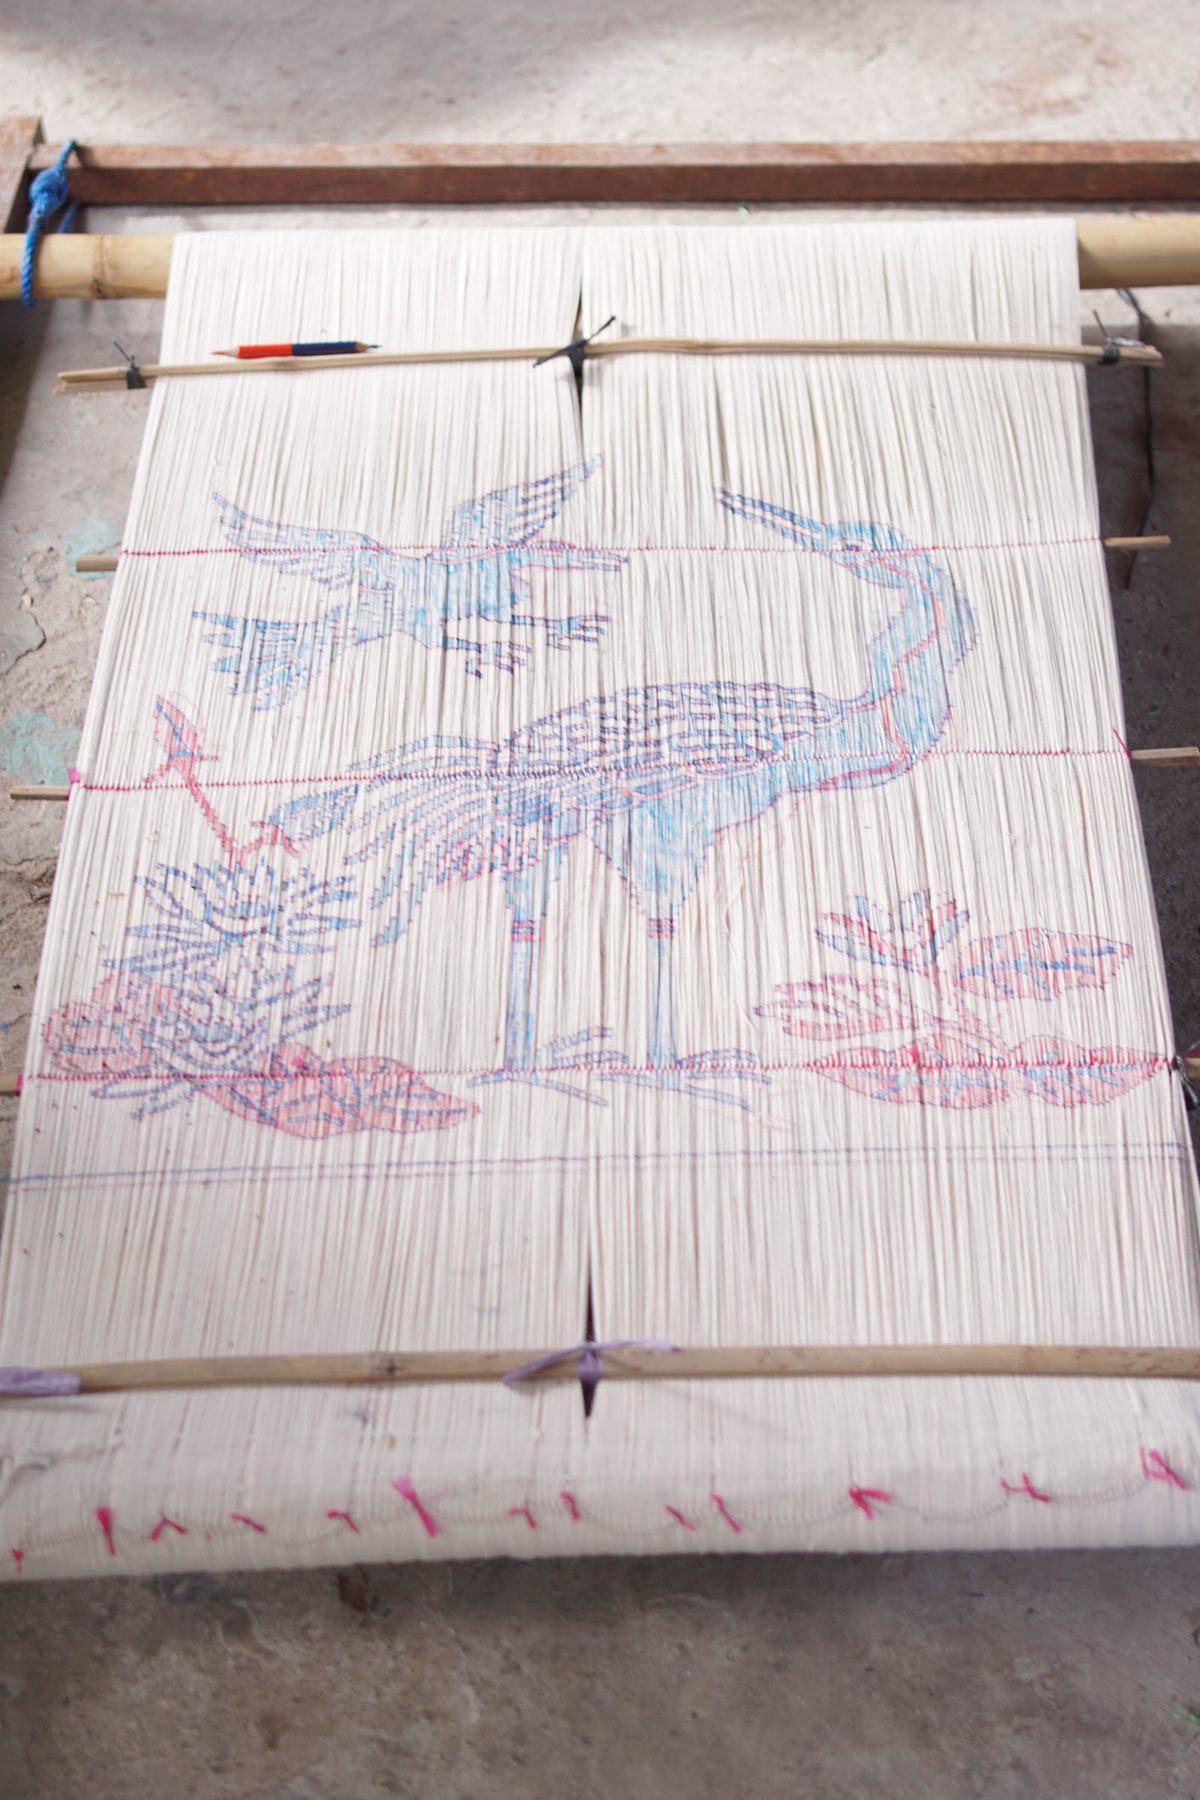
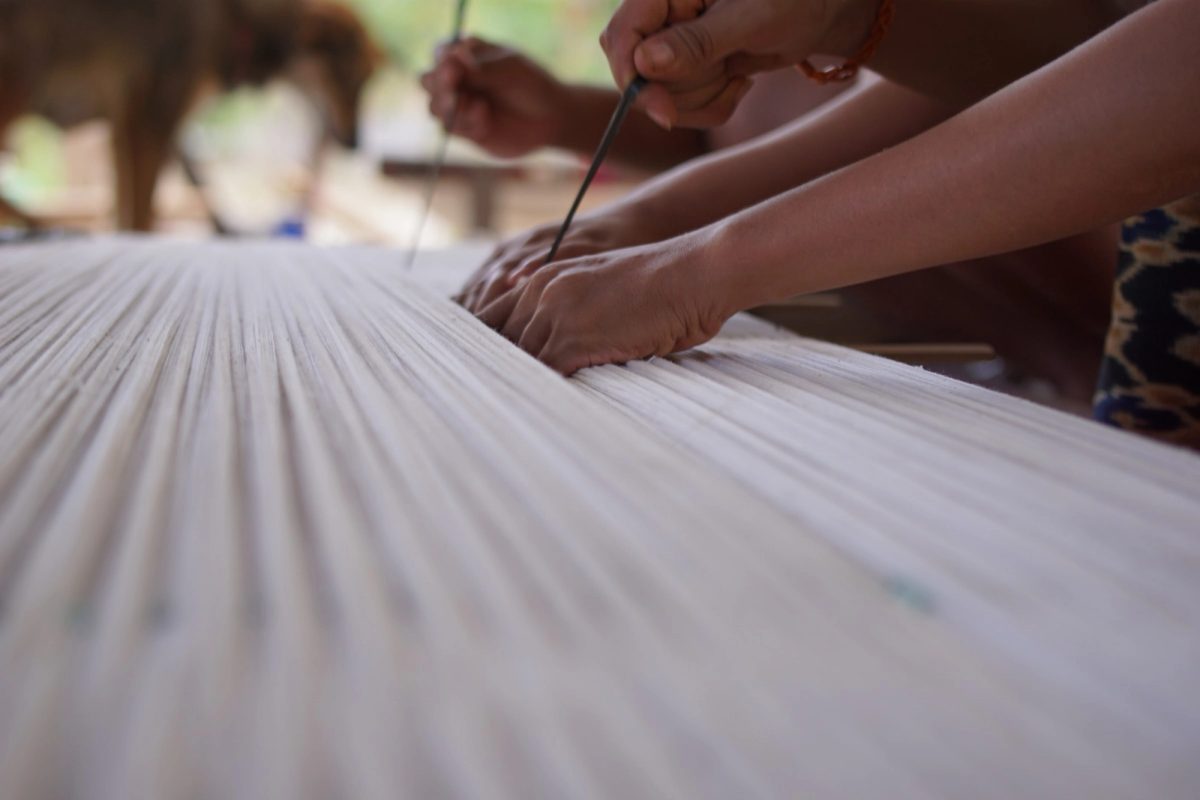
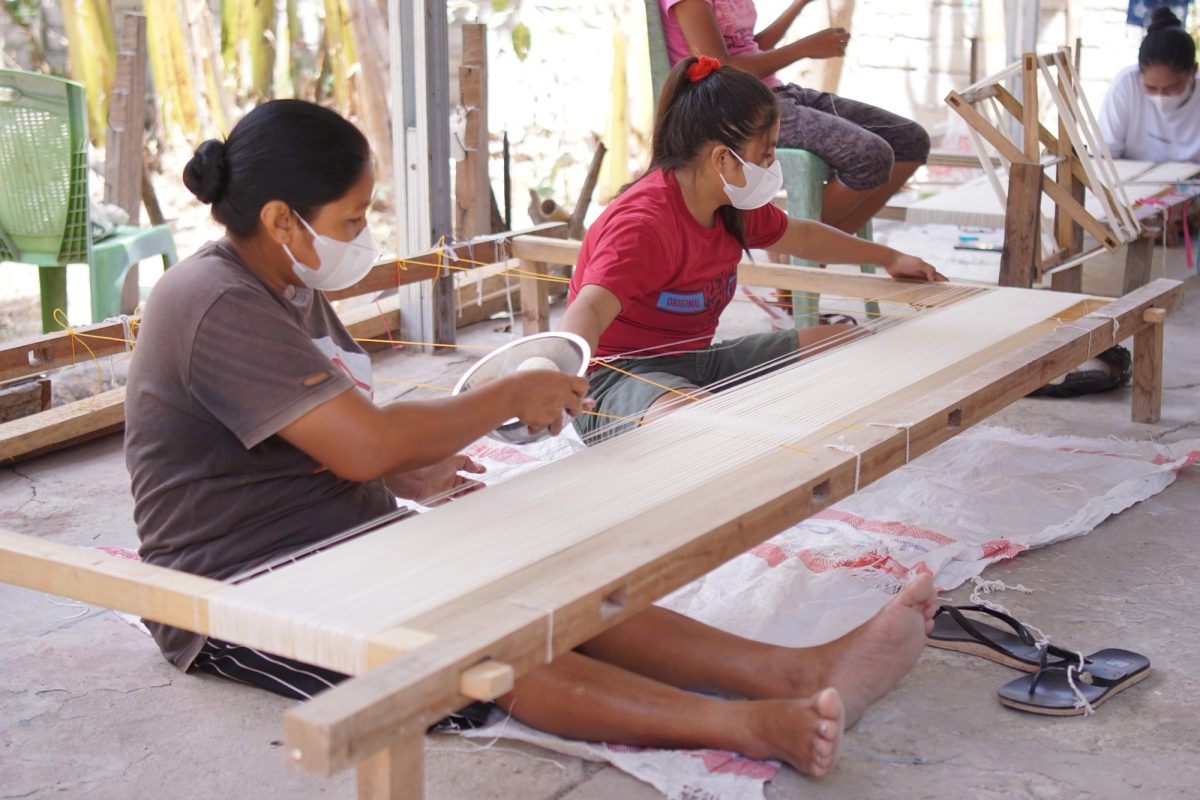
Before a motif can be drawn, the warp must become a steady canvas. Threads are measured, grouped, layered and tightened on a frame. Ties and bamboo markers hold their position and divide the warp into drawing spaces, so one careful design can guide several matching lengths of cloth.
Setting the warp
The warp threads are measured and arranged with even spacing and tension.
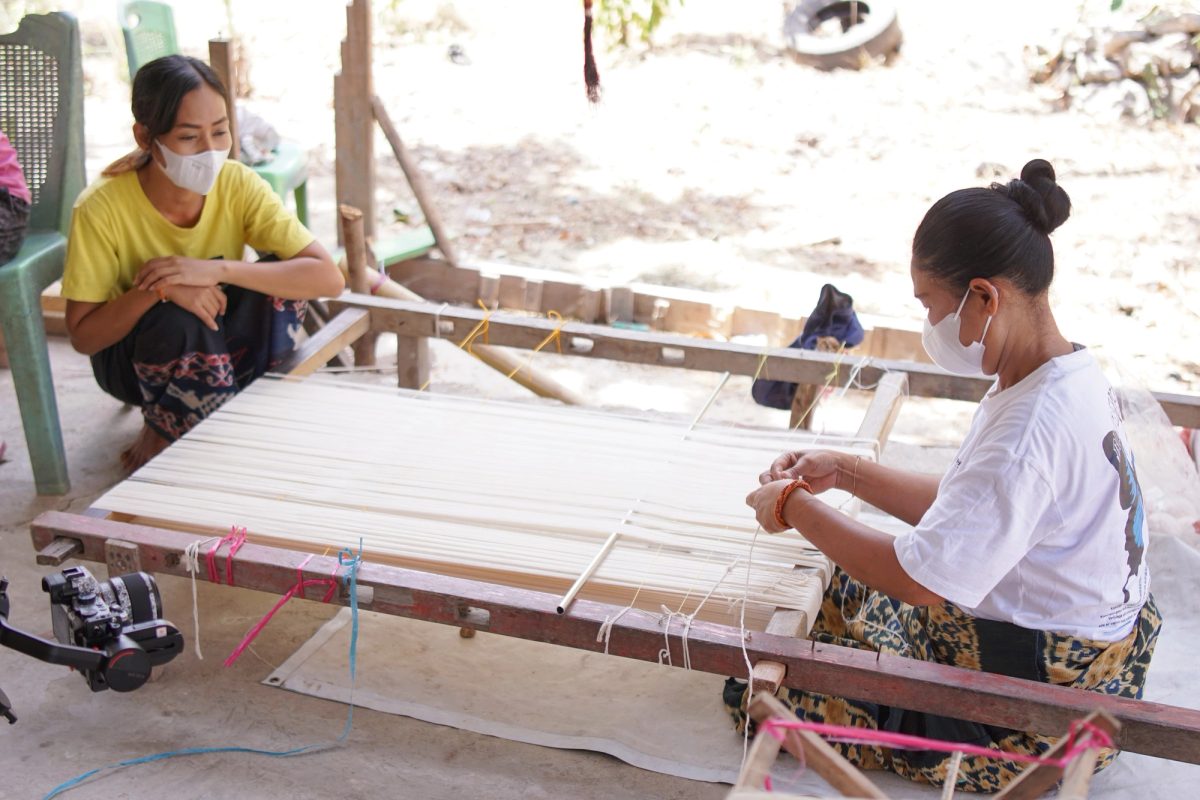
Securing thread groups
Thread groups are tied to keep the prepared warp in position.
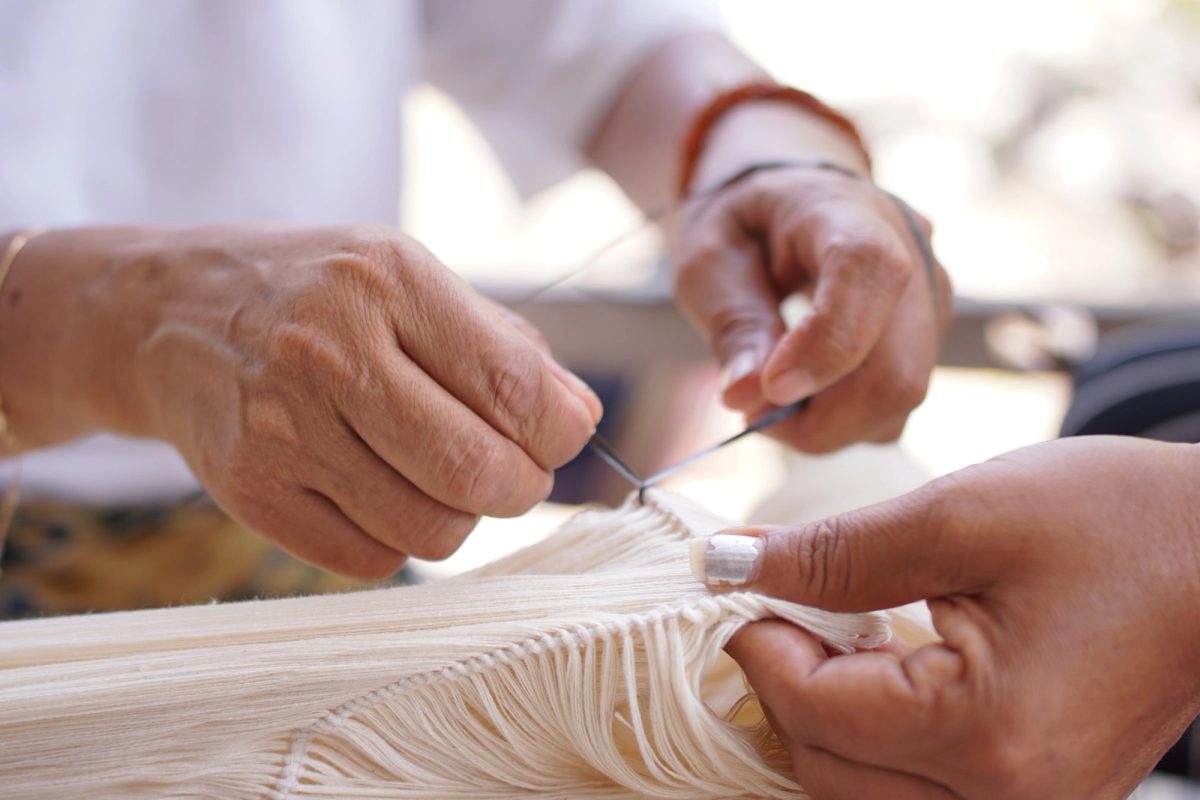
Combining layers
Several layers of thread can be combined so one design can guide multiple cloths.
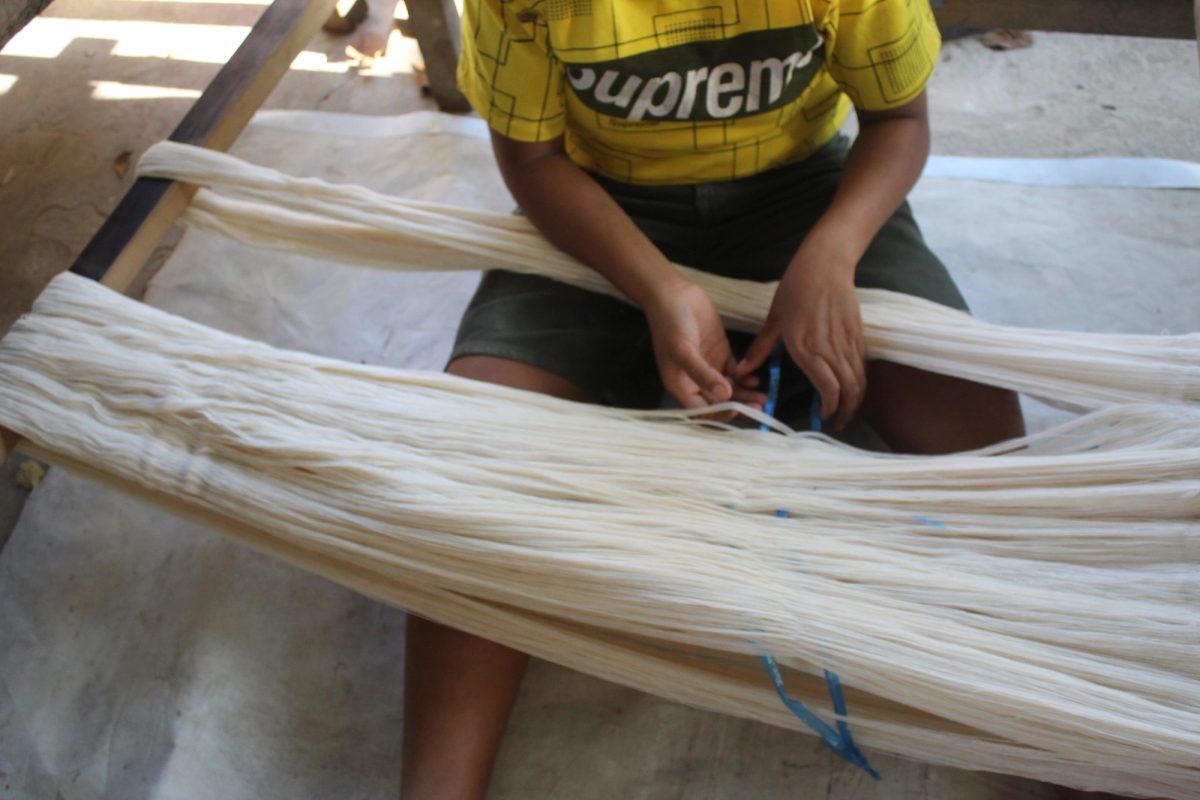
Tidying the threads
The thread strands are carefully tidied and separated.
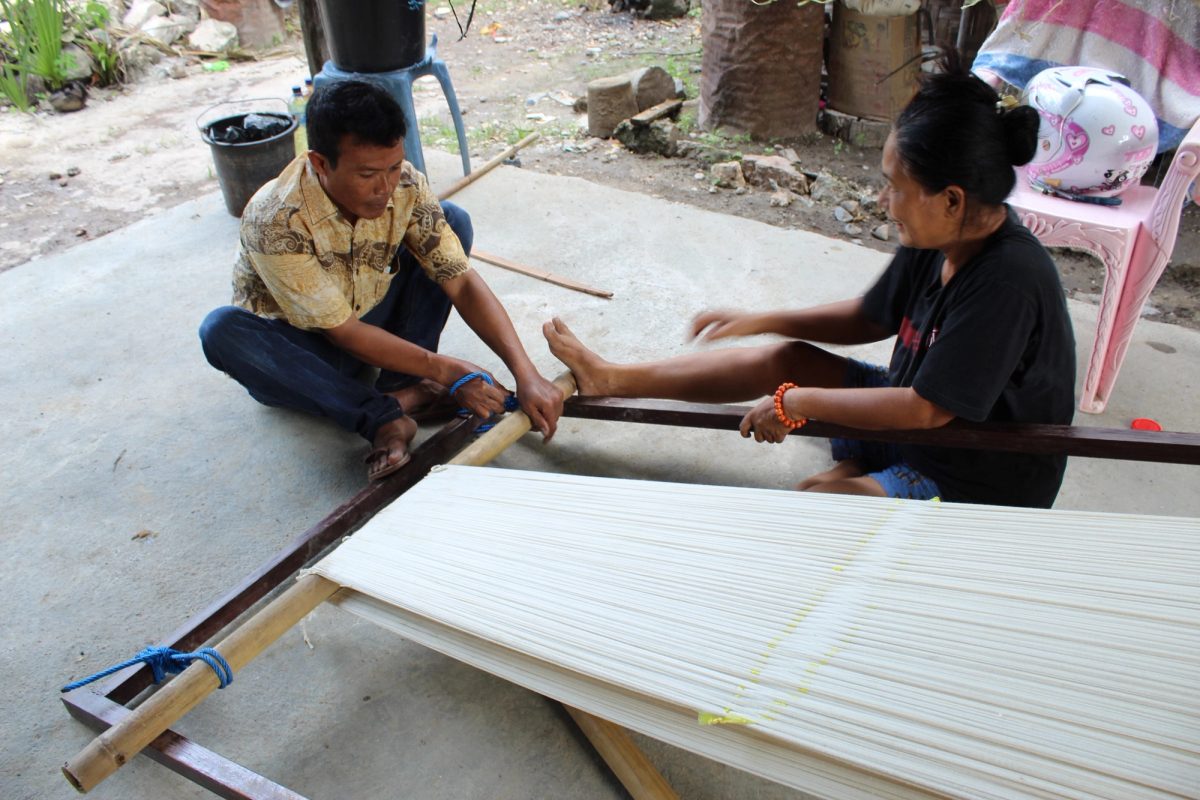
Tightening the threads
Threads are tightened on the frame before the motif is drawn.
Making drawing columns
Bamboo and ties divide the threads into clear spaces for drawing.
Make it yourself
Stage 03 / 07 · 2 steps
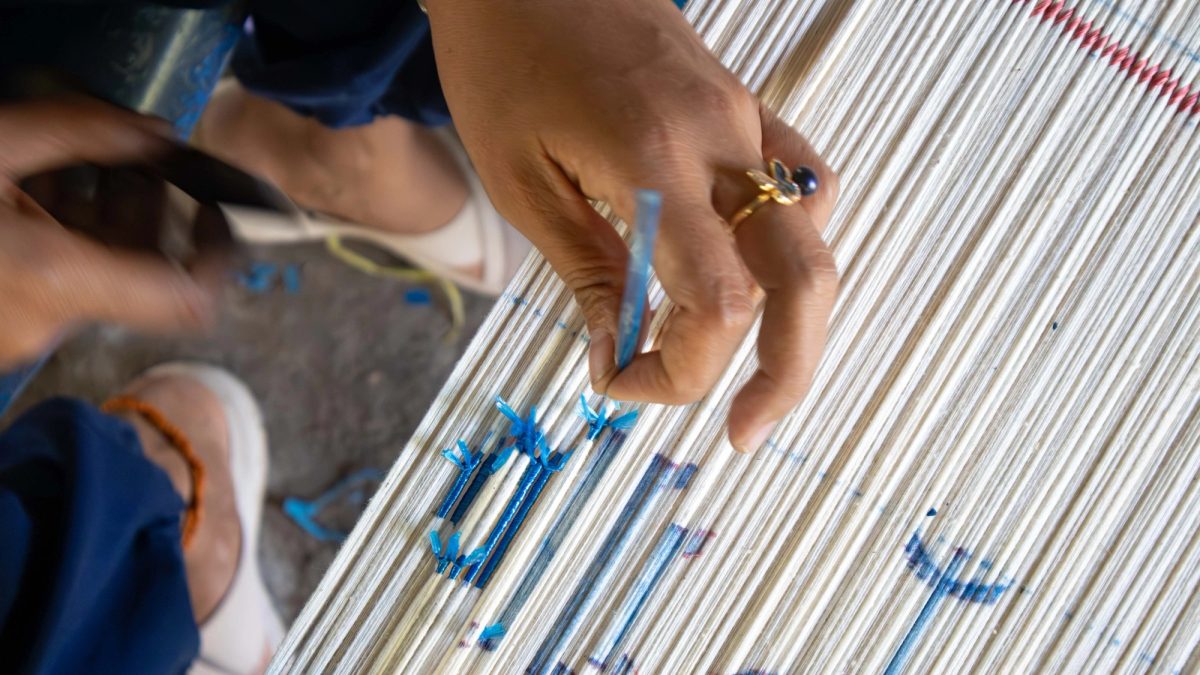
A motif takes shape on the prepared threads. A specialist may draw it first, while some experienced weavers tie directly from memory. The lines are then bound with kalita or raffia so selected parts resist dye. Tying can be repeated when a design calls for several colours.
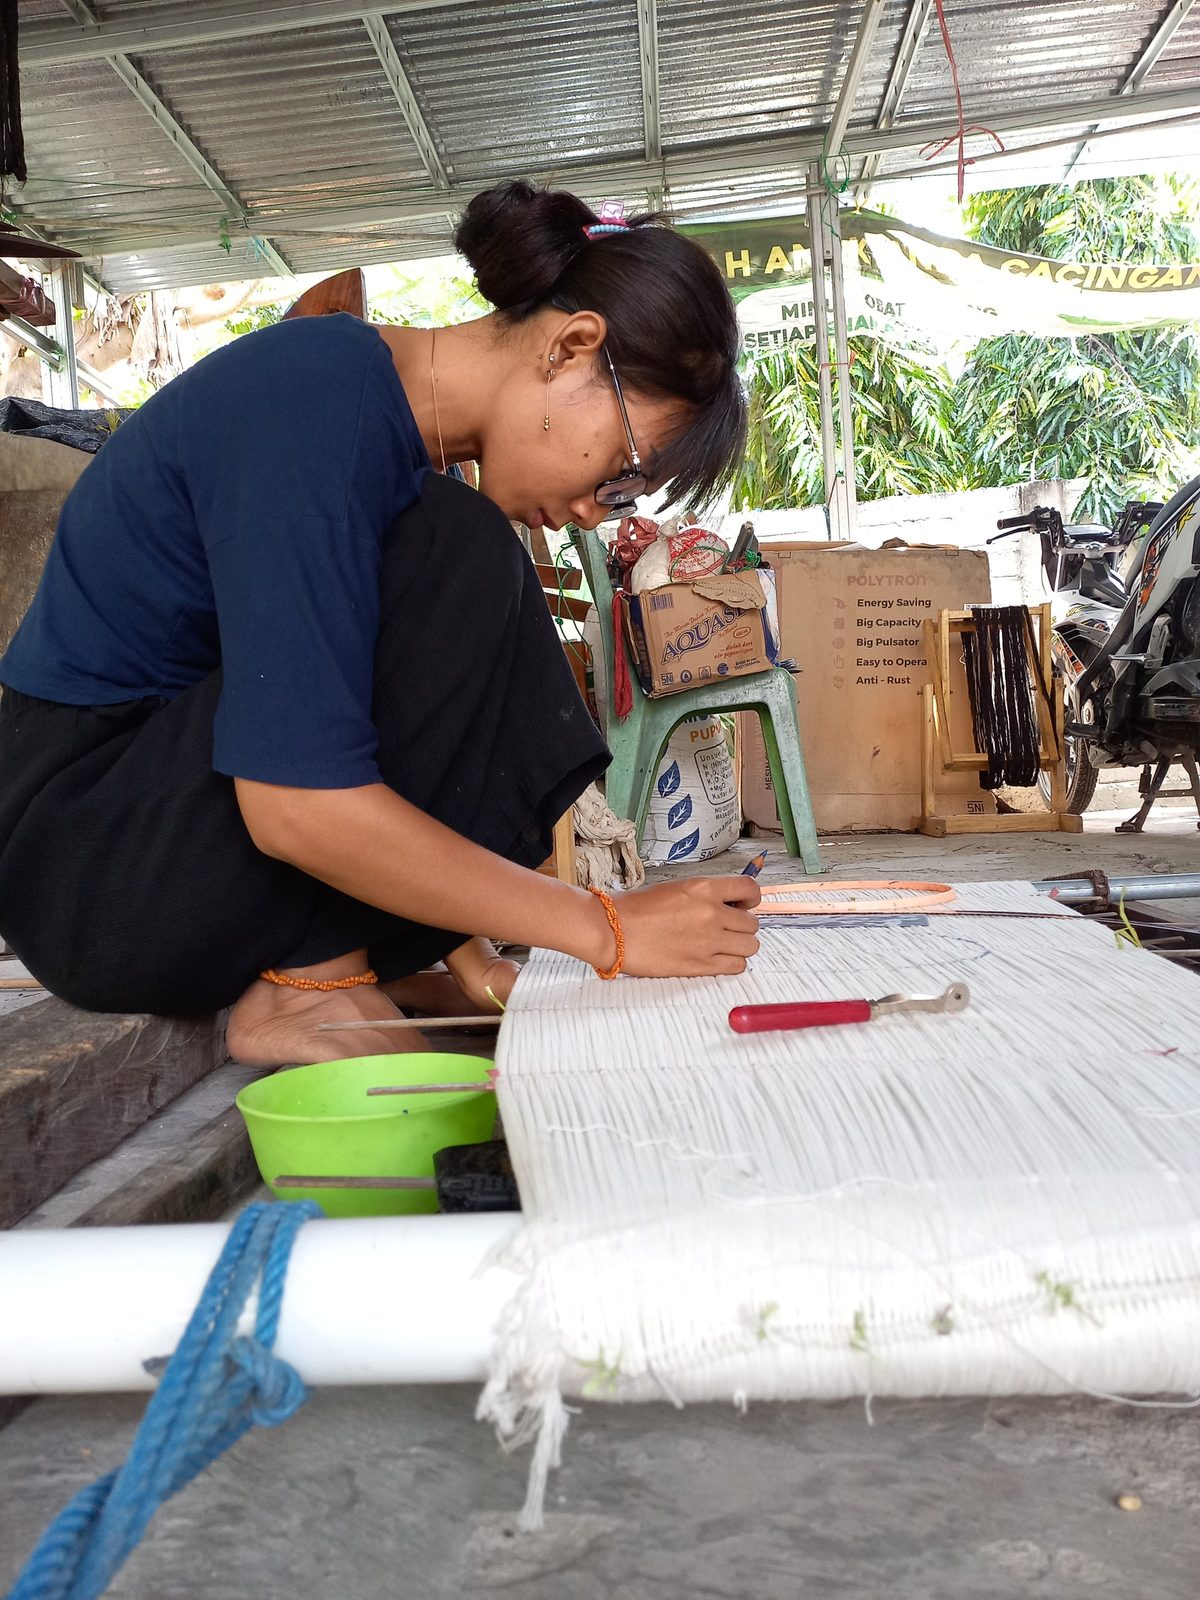
Drawing the motif
A motif is drawn on the prepared threads before tying; experienced weavers may also work directly without a drawing.
Resist tying
Thread sections are bound with kalita or raffia so they resist the dye.
Stage 04 / 07 · 1 step
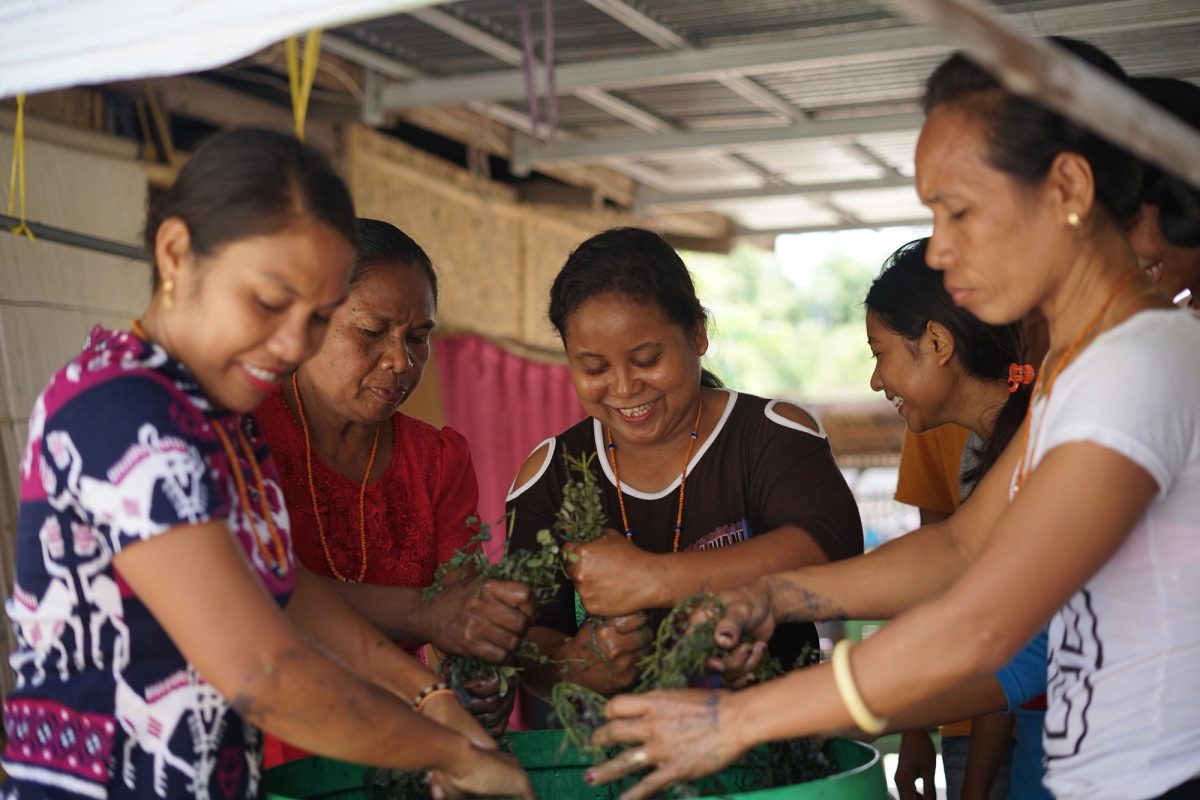
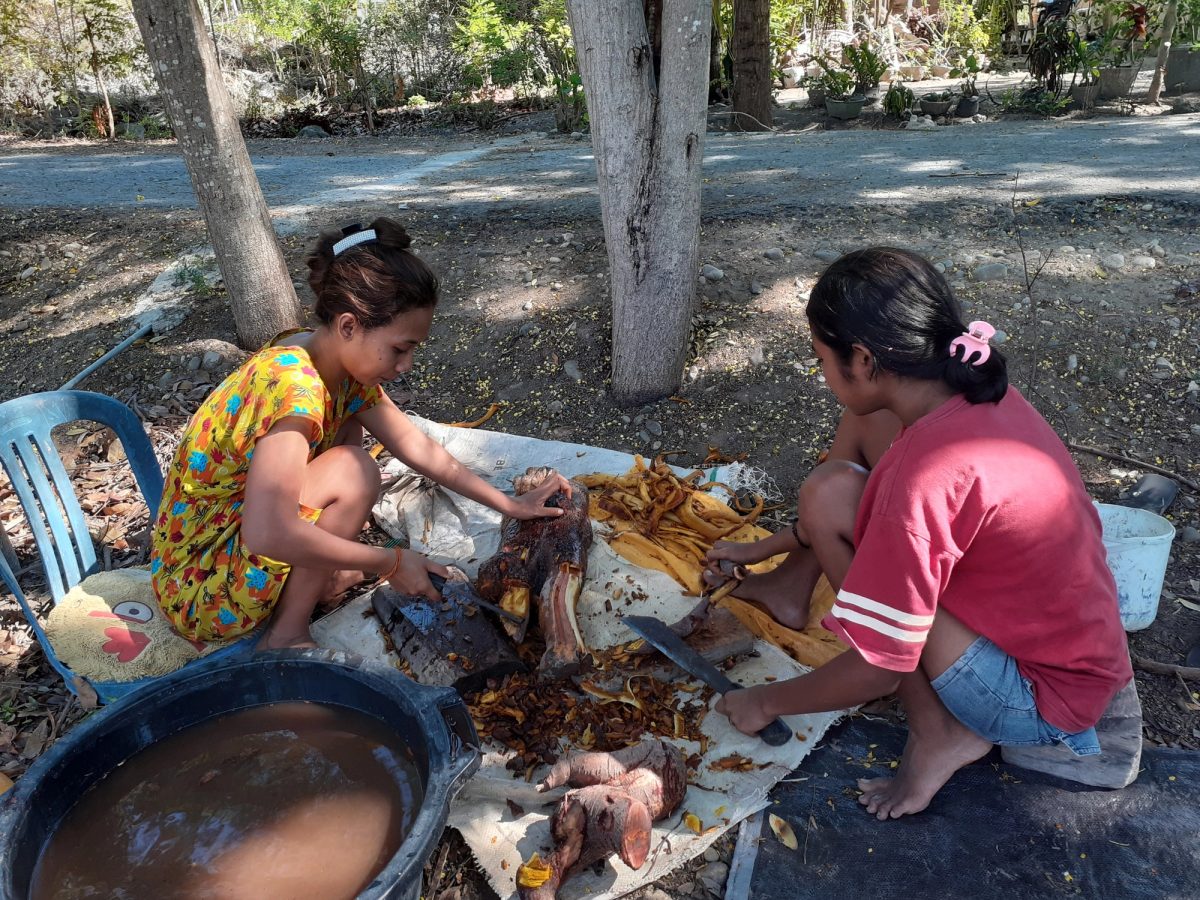
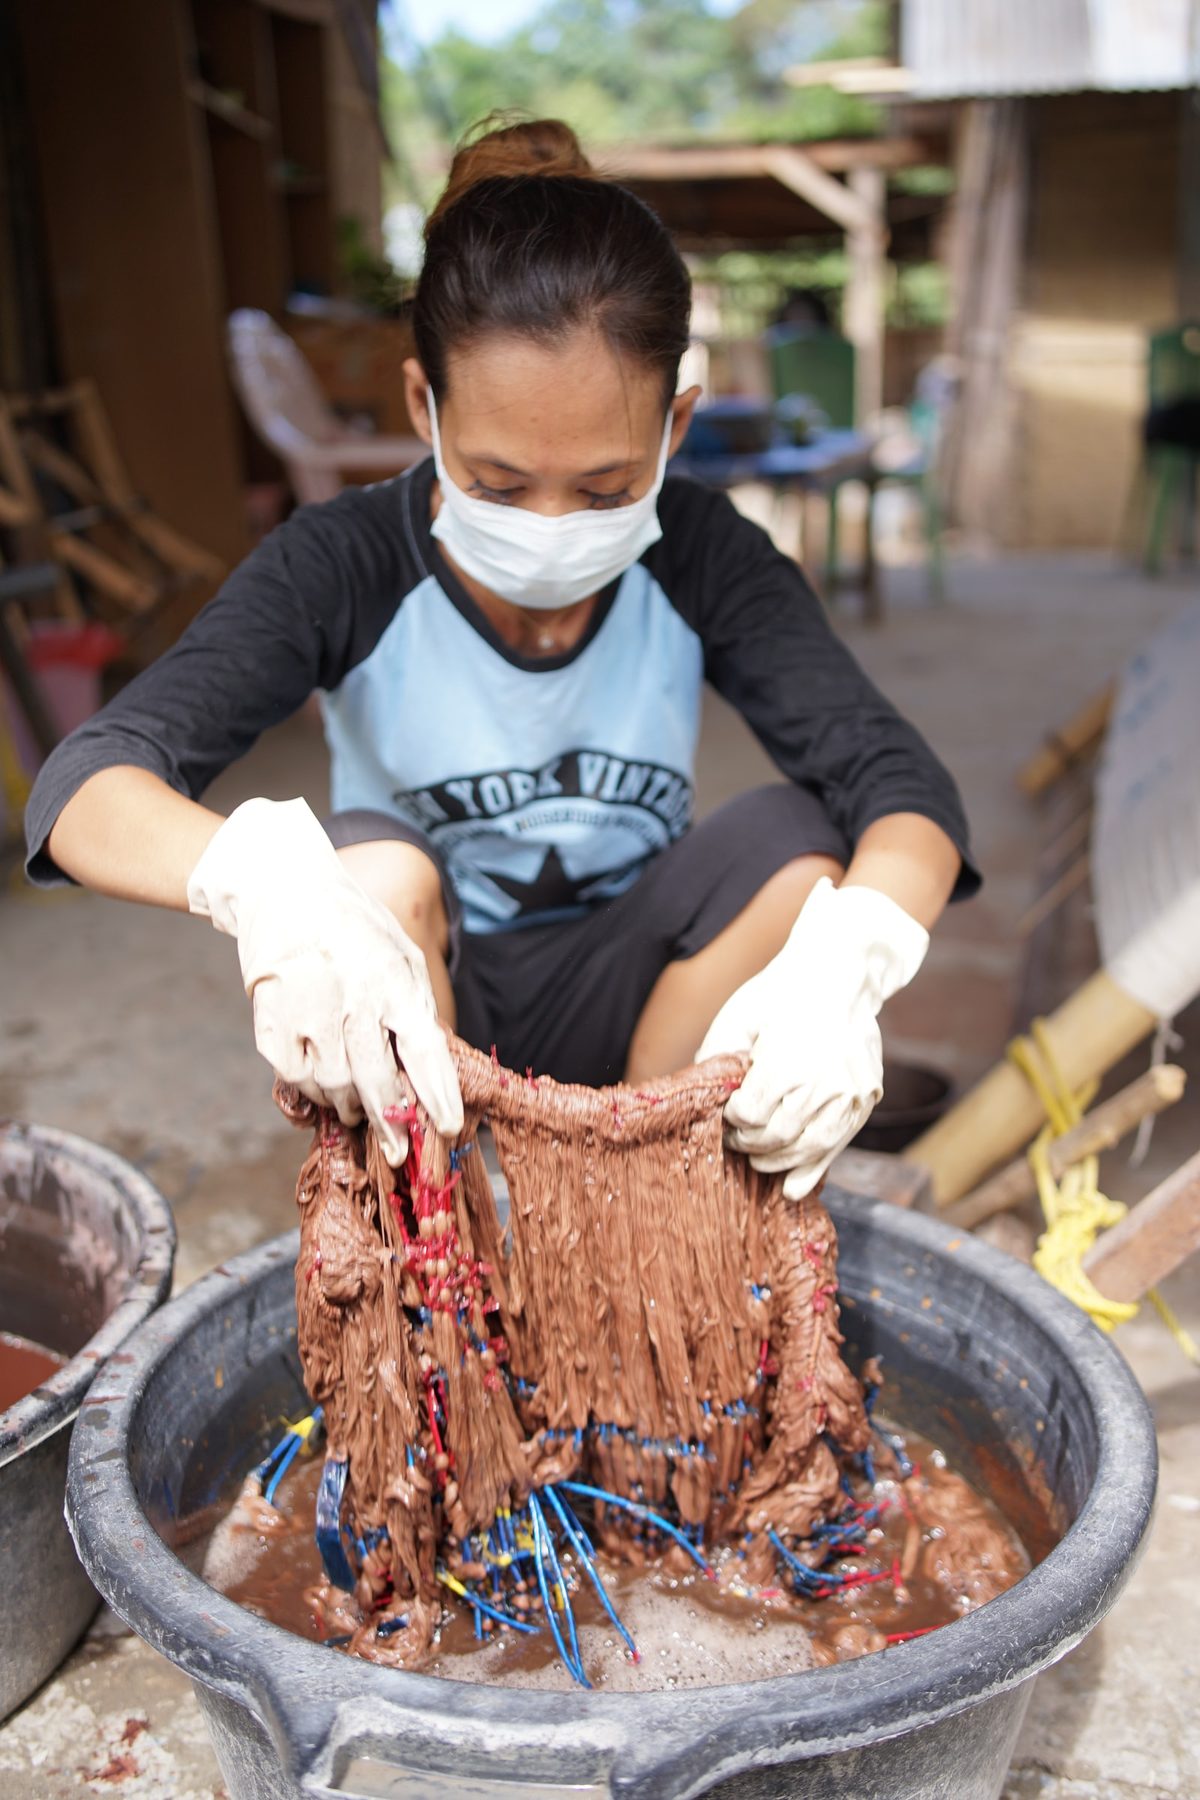
Colour is built slowly from plants and repeated immersion. Indigo gives the deep blues of Sumba; morinda root gives red. Each has its own preparation, and morinda may require a kemiri oil treatment before dyeing. Weather, drying time and repeated dips all influence the final depth of colour.
Natural dyeing
Natural colours, including indigo blue and morinda red, are built through preparation and repeated dyeing.
Make it yourself
Stage 05 / 07 · 12 steps
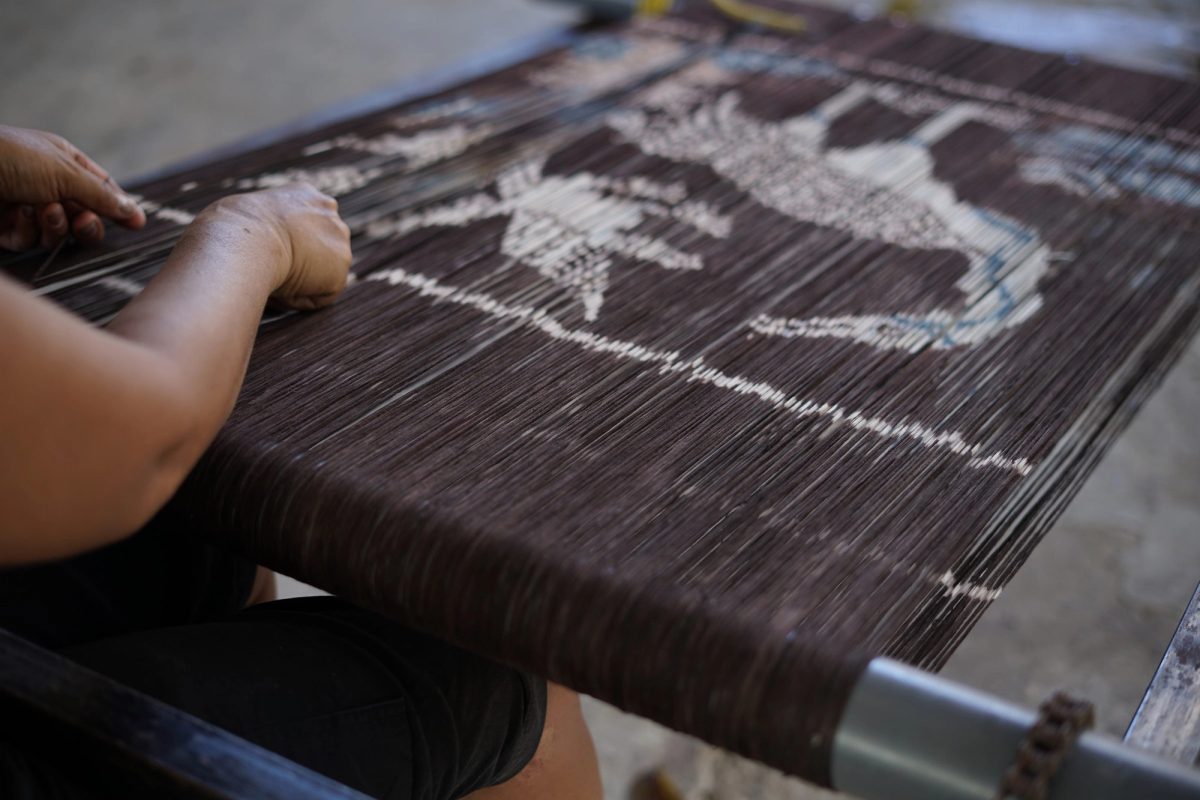
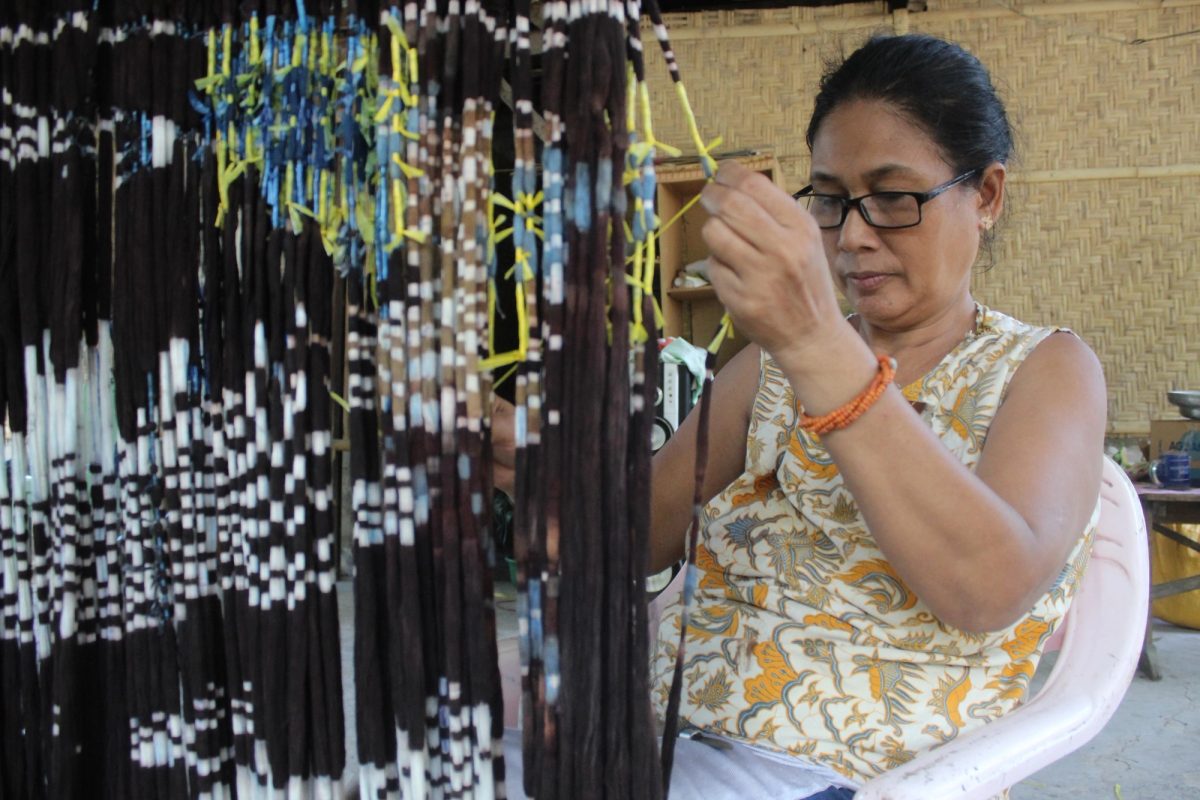
After dyeing, the resist ties are opened and the layered warp is separated. The motif is brought back into alignment, the yarn is strengthened with starch and individual strands are freed again. Guide threads, bamboo and prepared weft then ready the loom for the first pass.
Opening the ties
The resist ties are opened to reveal the protected motif.
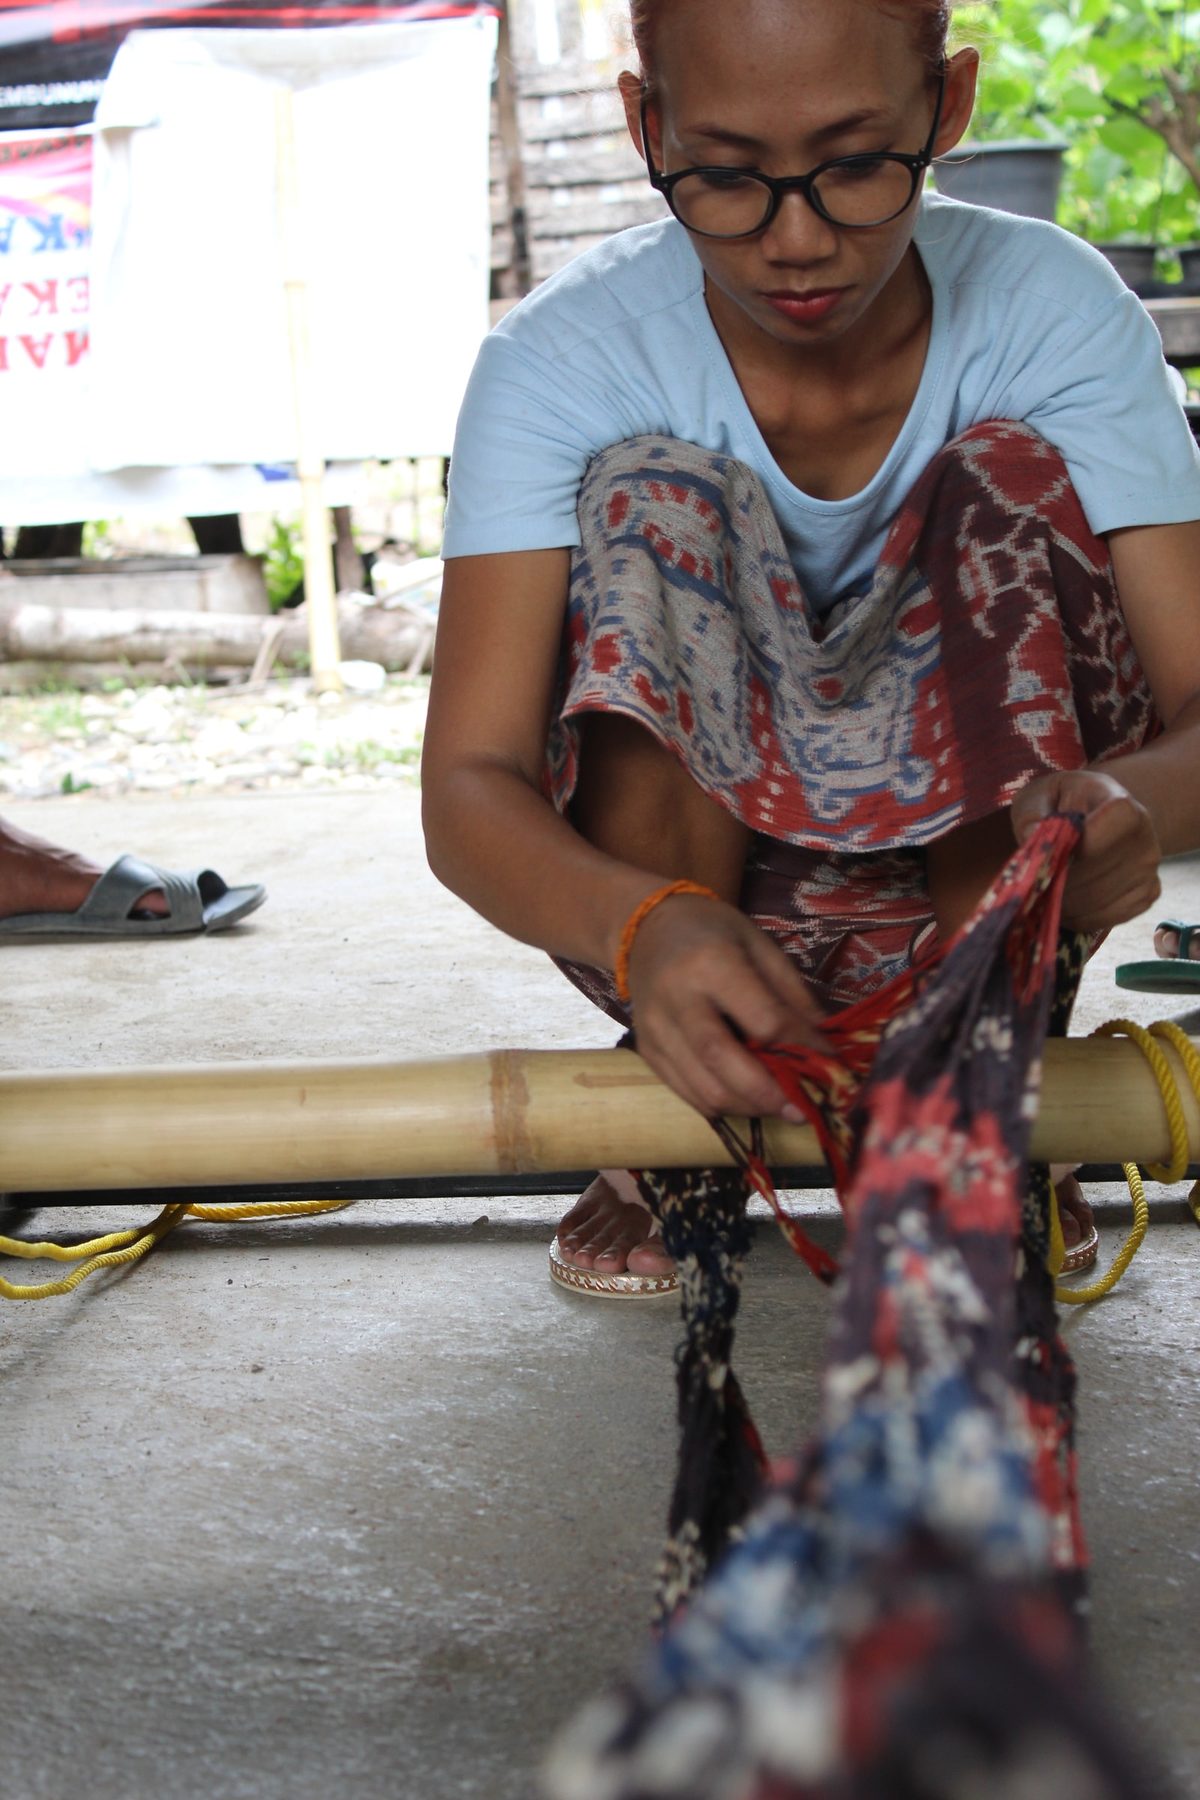
Separating the layers
The combined thread layers are separated into individual cloth lengths.
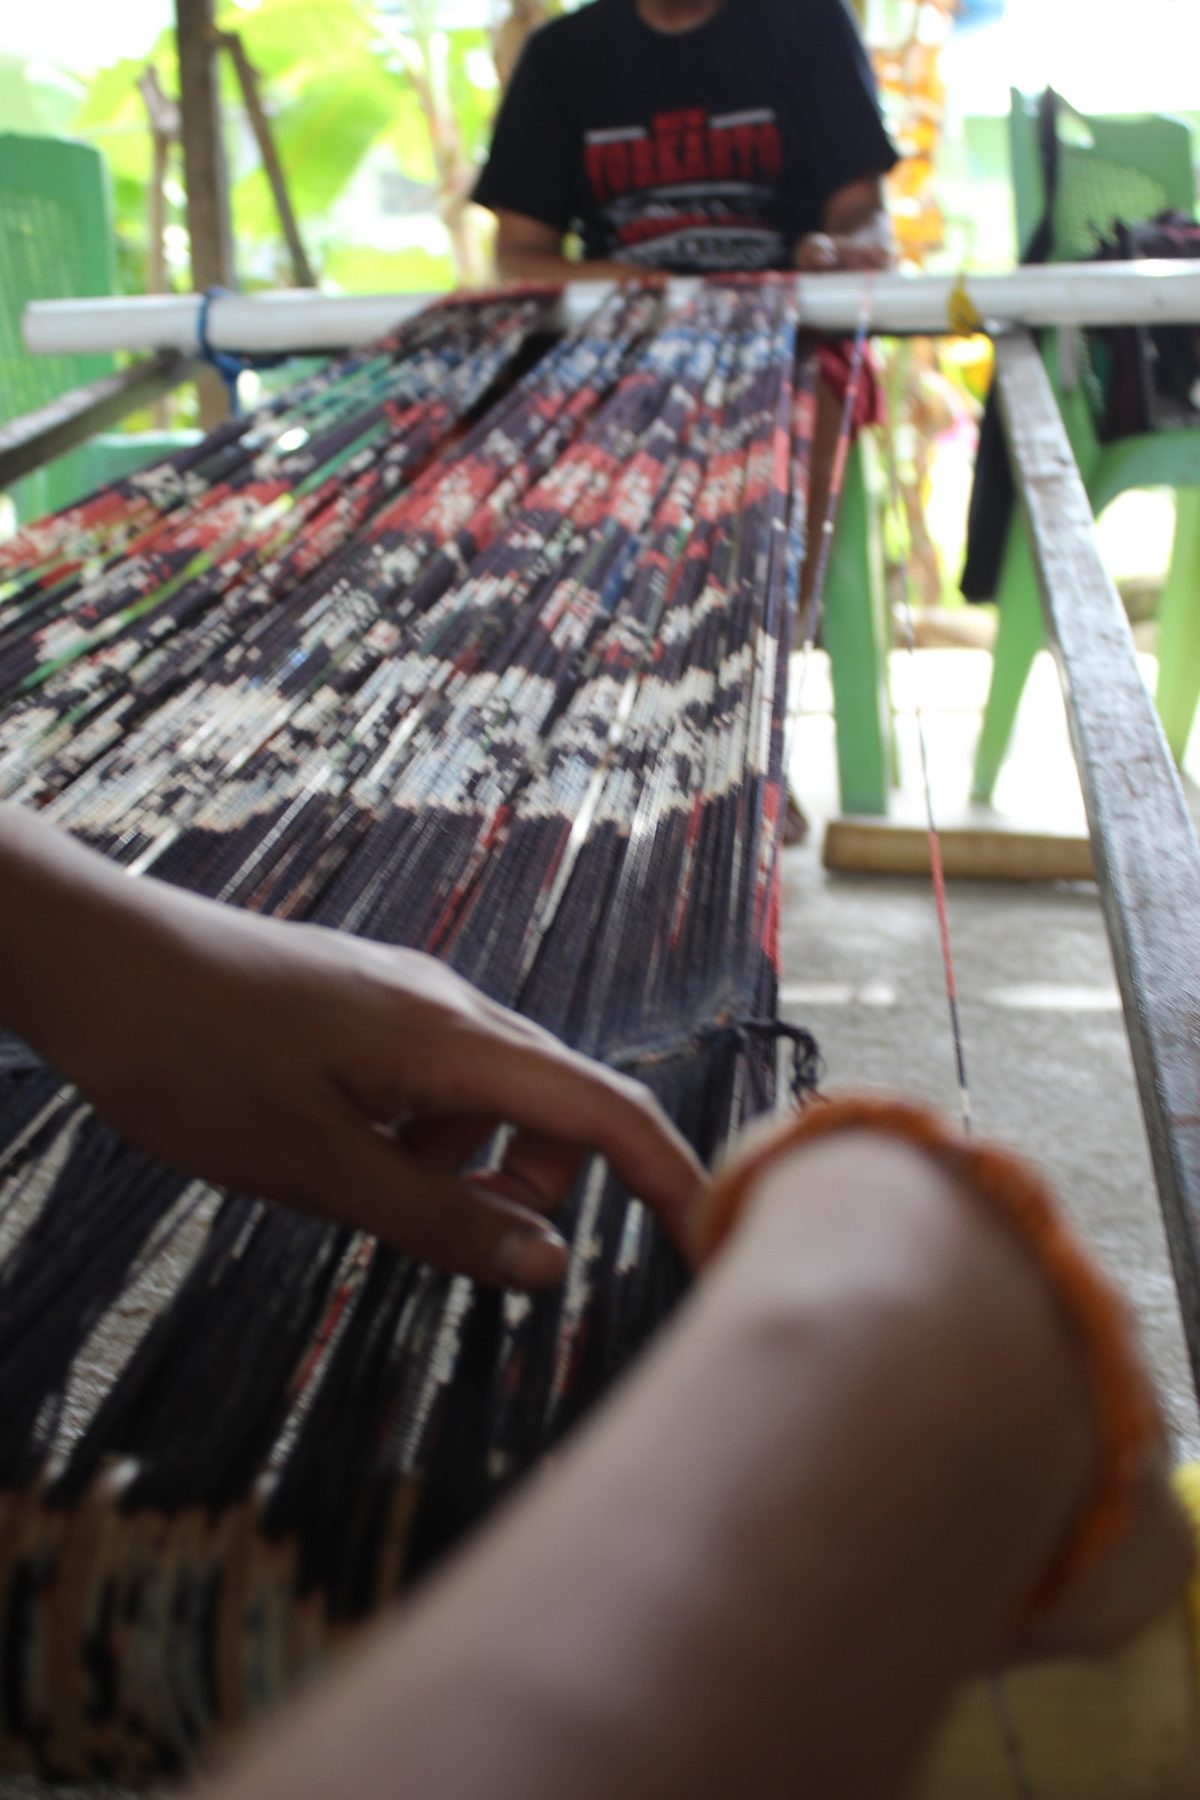
Restoring motif alignment
Threads are spread on a frame and the motif is brought back into alignment.
Arranging the motif
The motif is straightened and arranged before weaving.
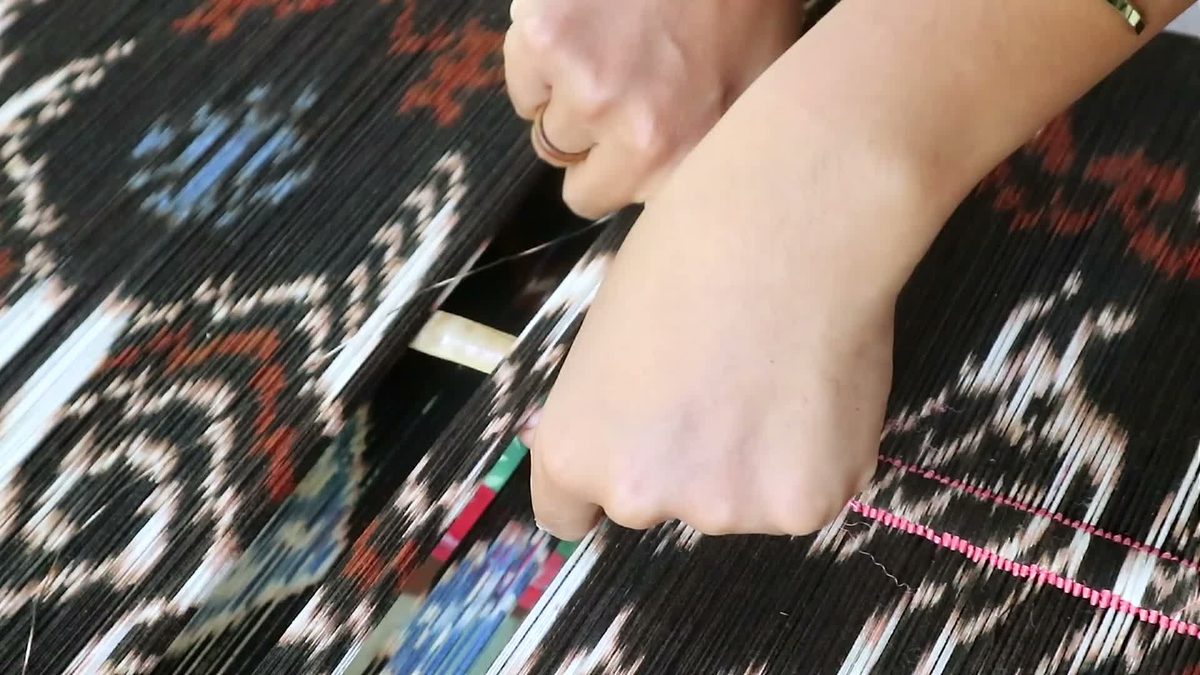
Securing threads for weaving
Threads are secured on bamboo so they stay in place at the loom.
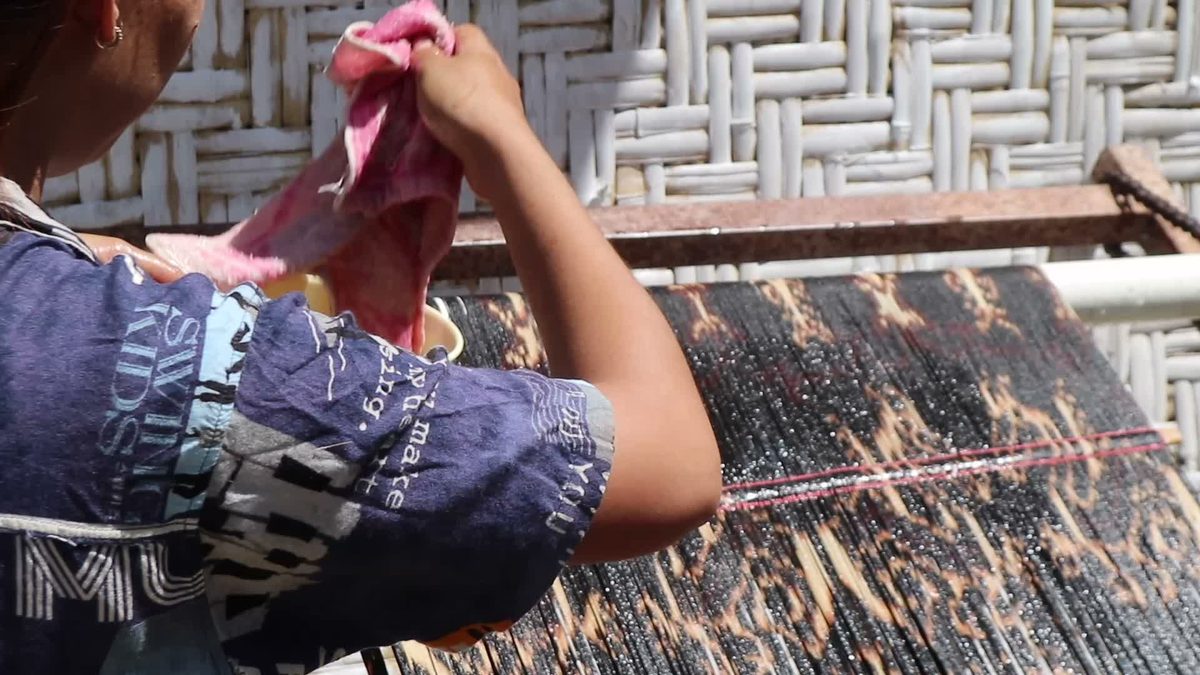
Strengthening with starch
Cooked starch is applied to strengthen the yarn before it is dried.
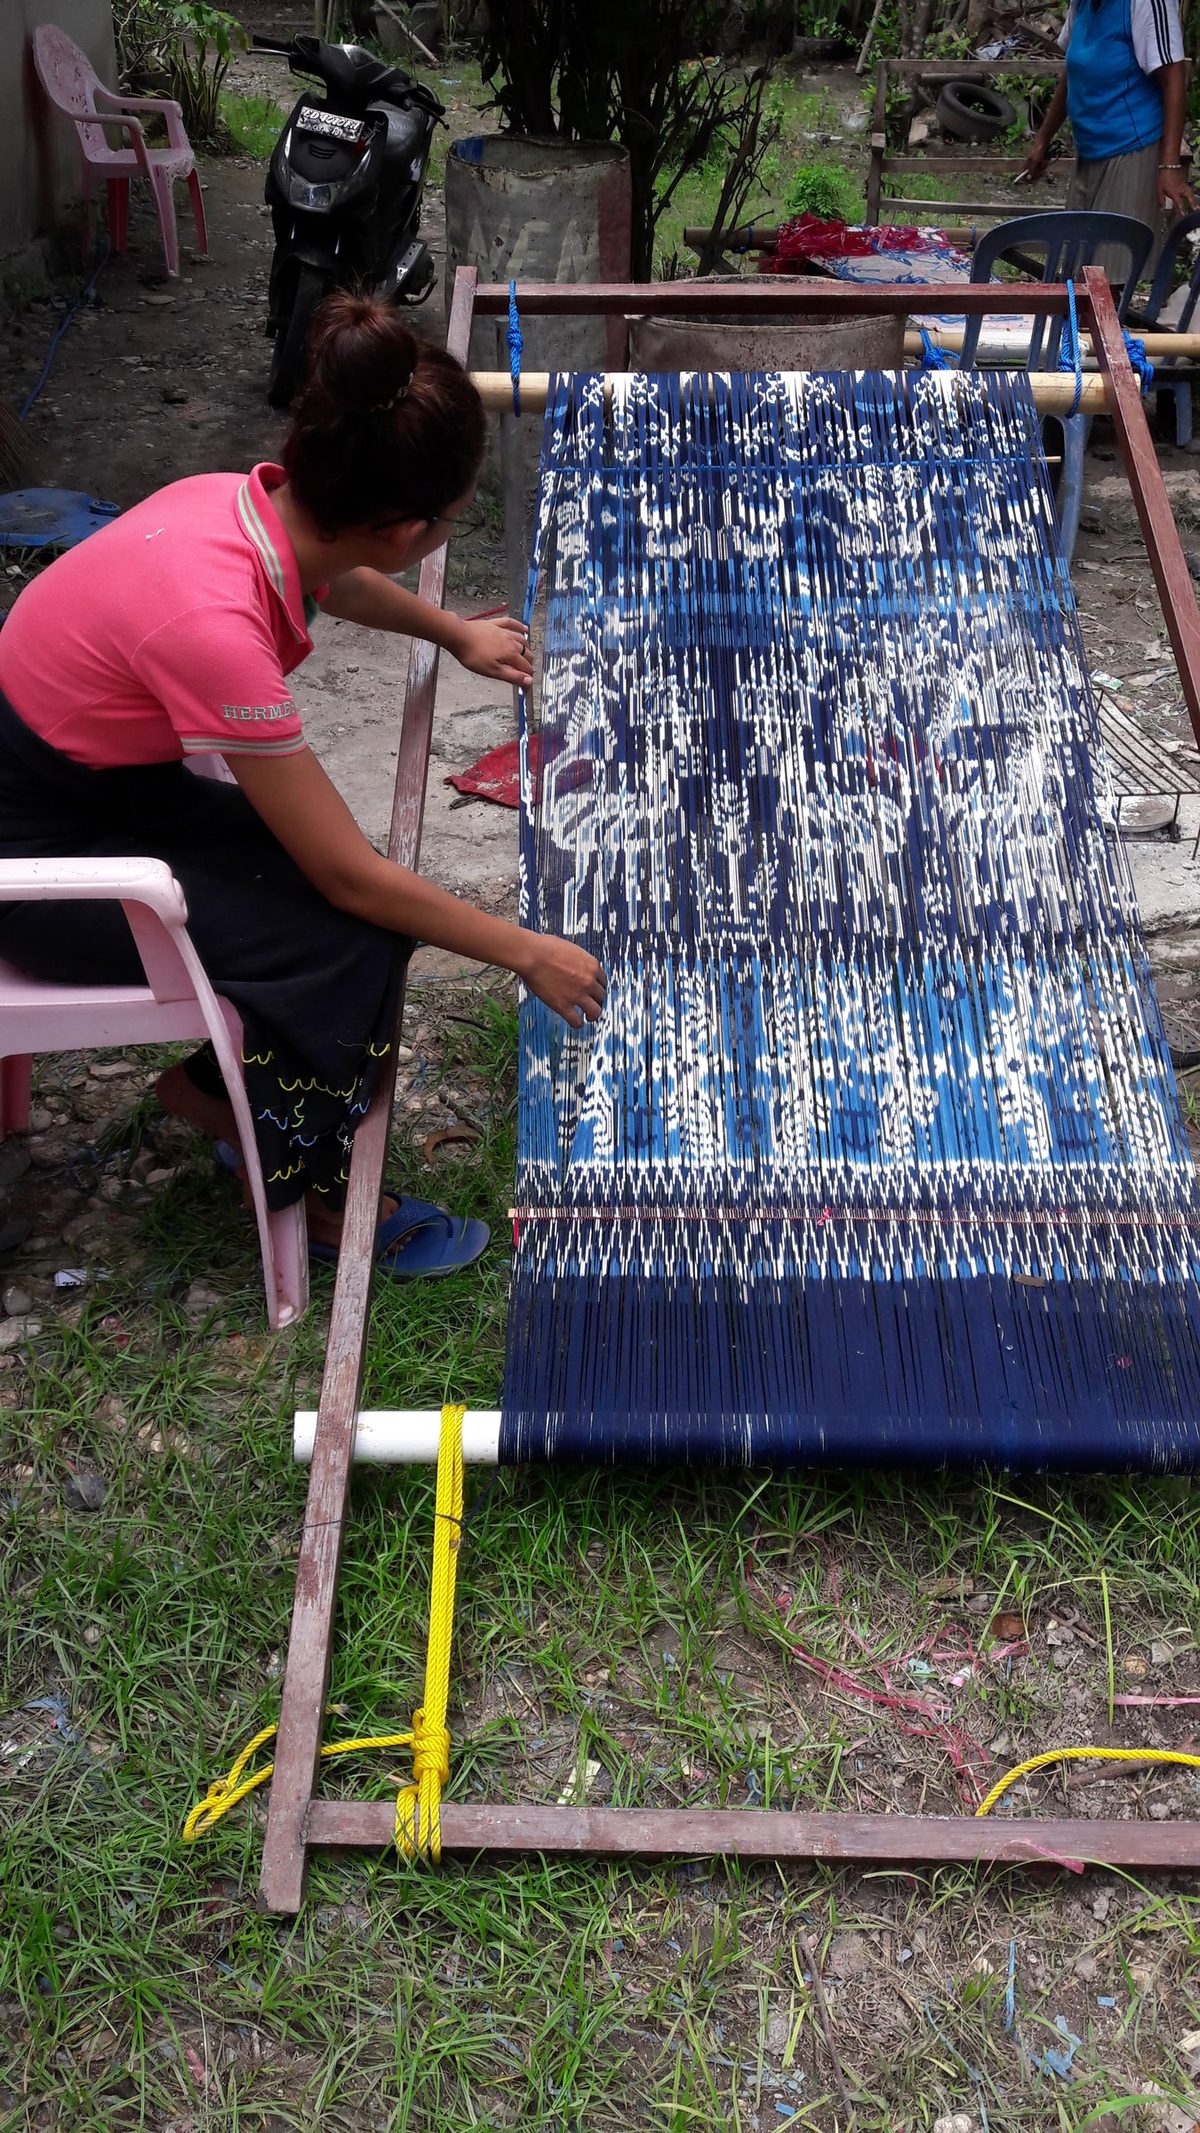
Separating starched strands
Stuck strands are separated by hand after starching.
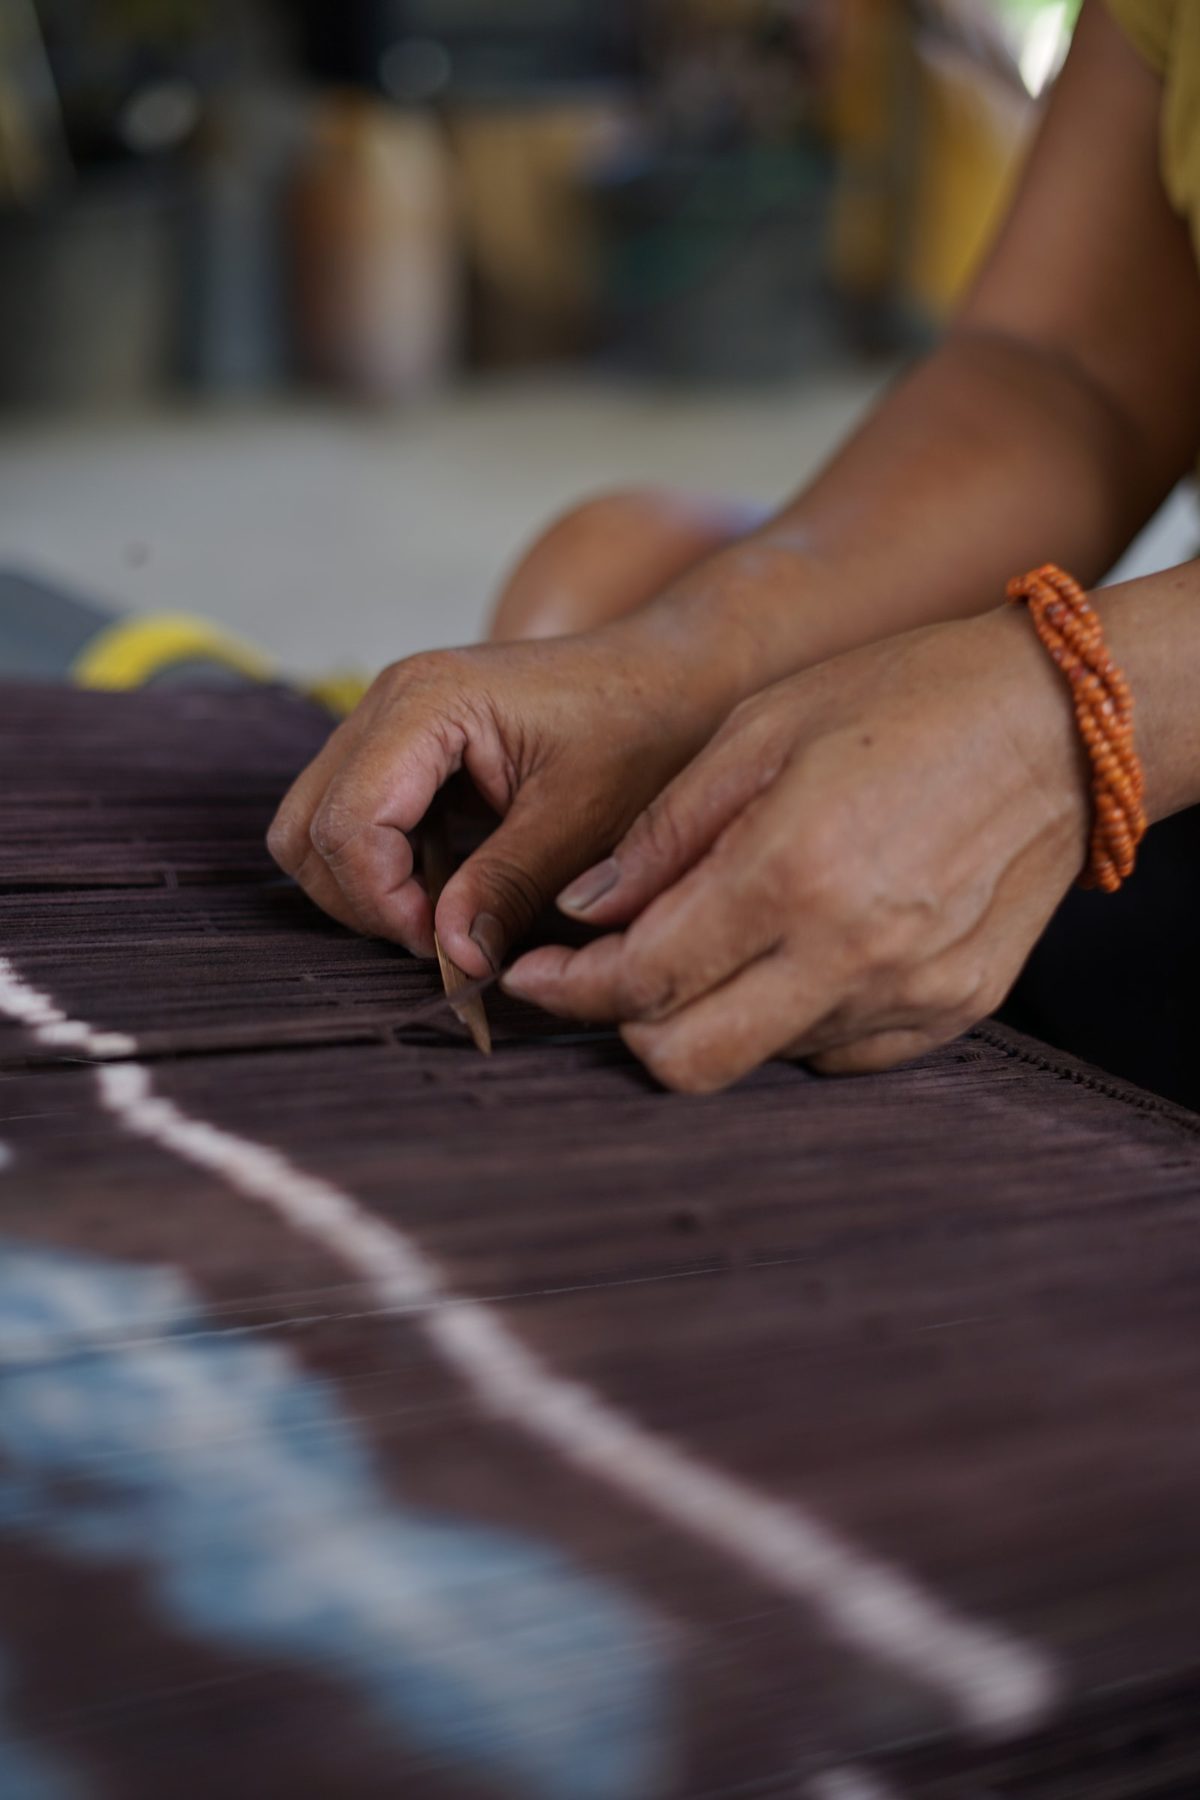
Checking the warp
The warp is checked for broken or attached threads.
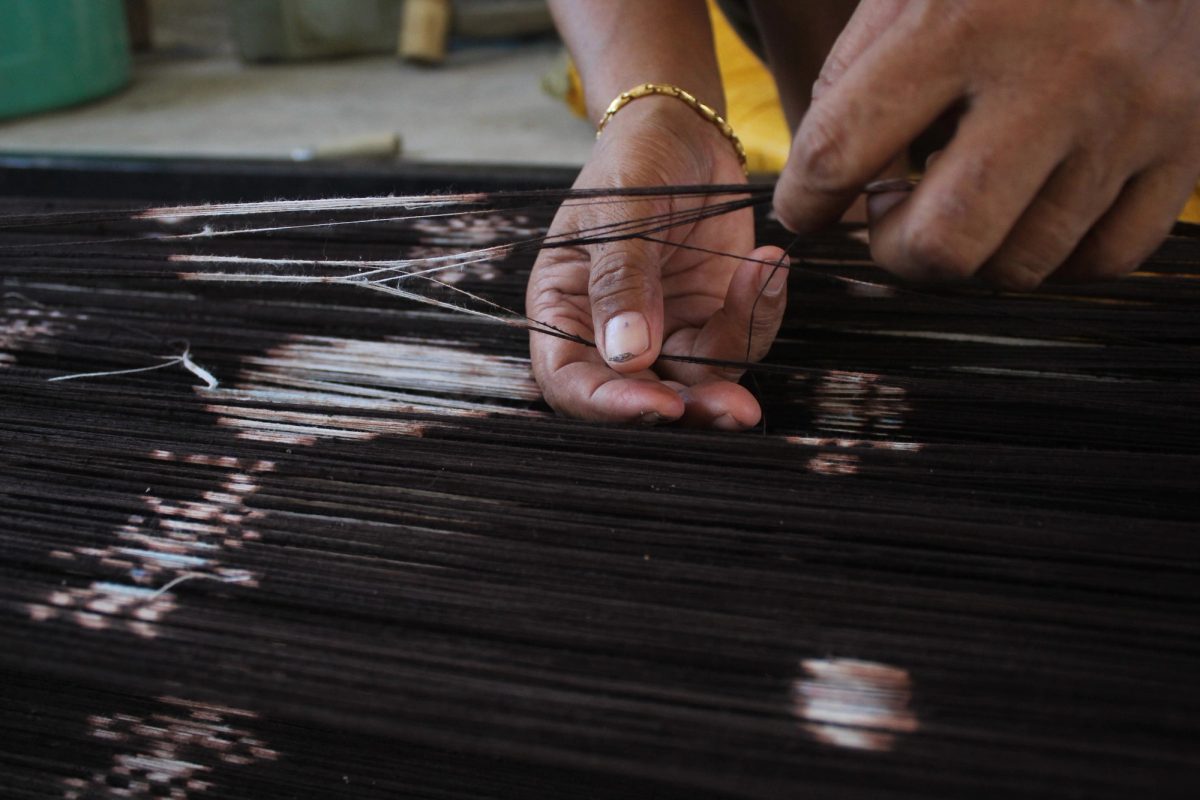
Separating fine threads
A fine bamboo tool separates individual threads.
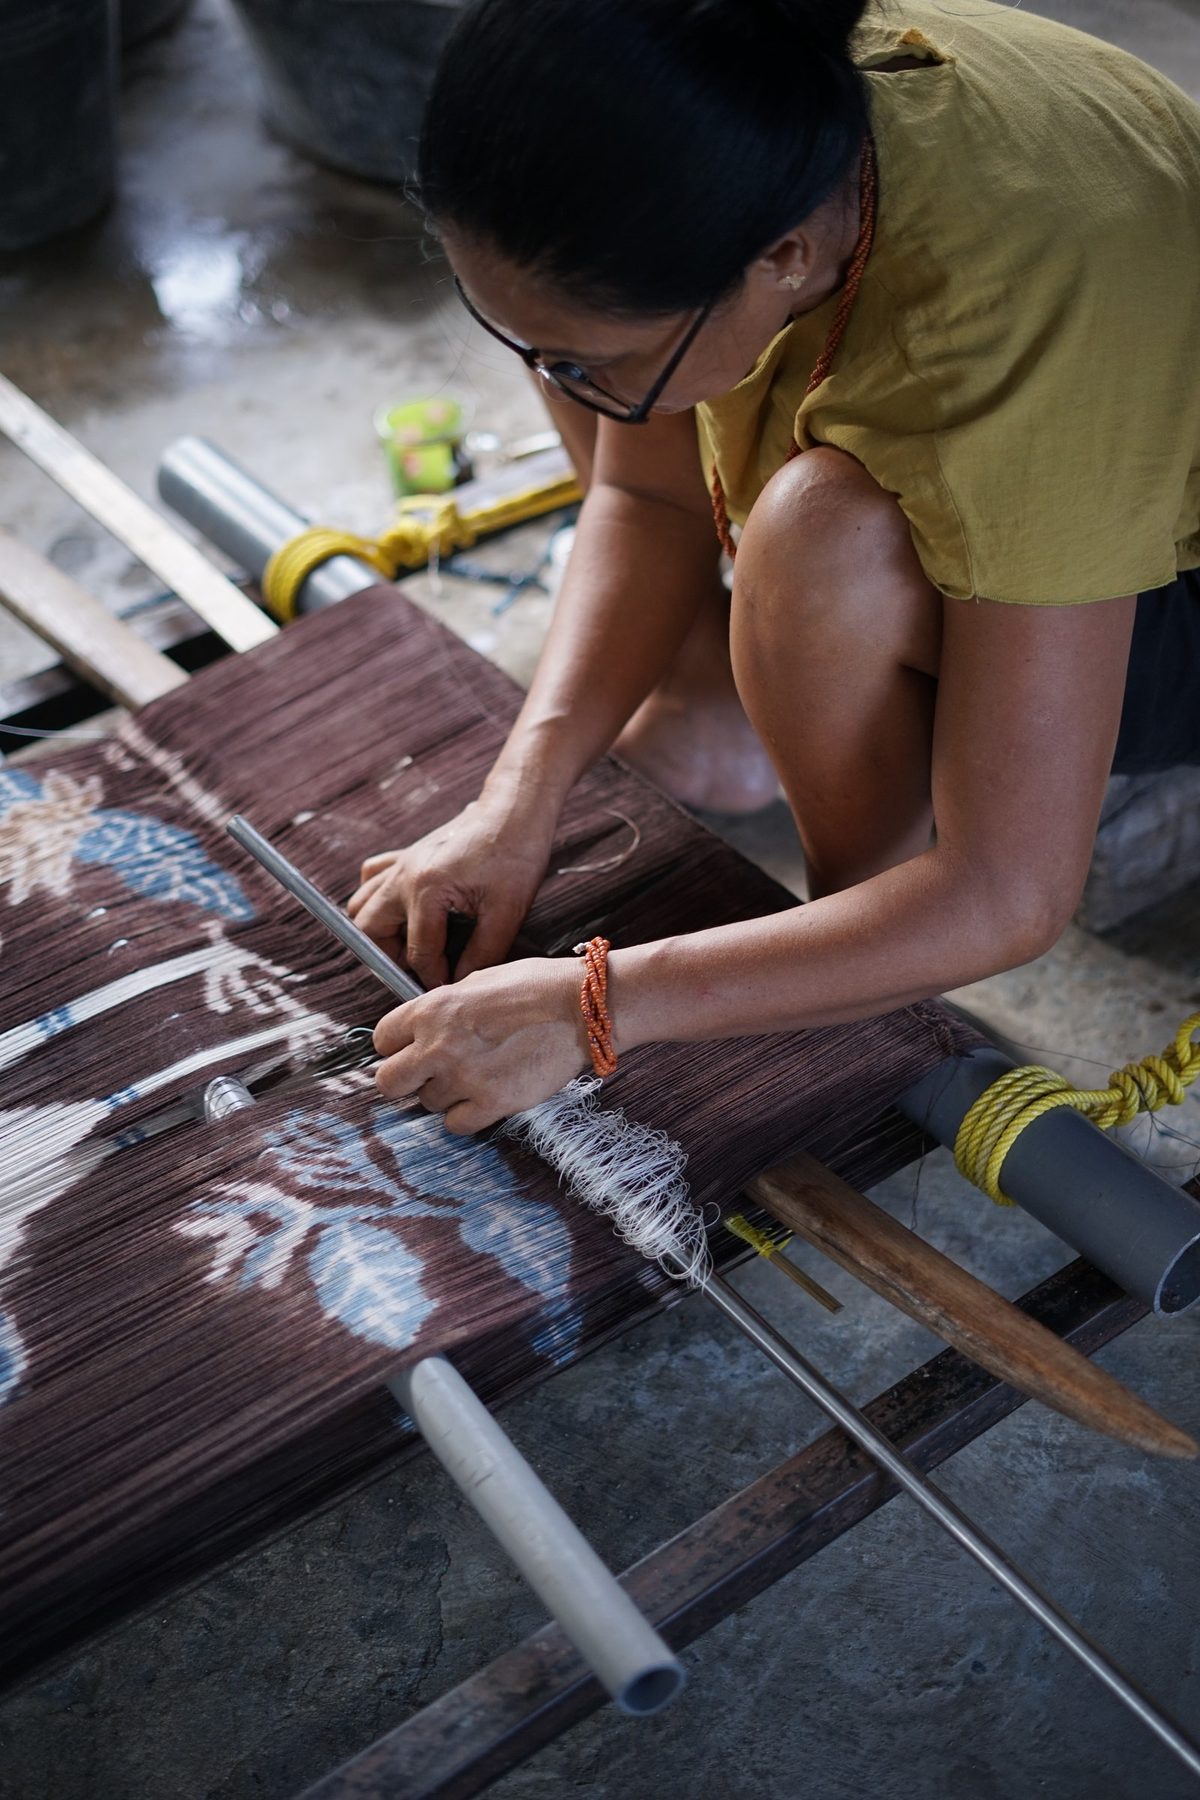
Making guide threads
Guide threads are prepared for the weaving tools.
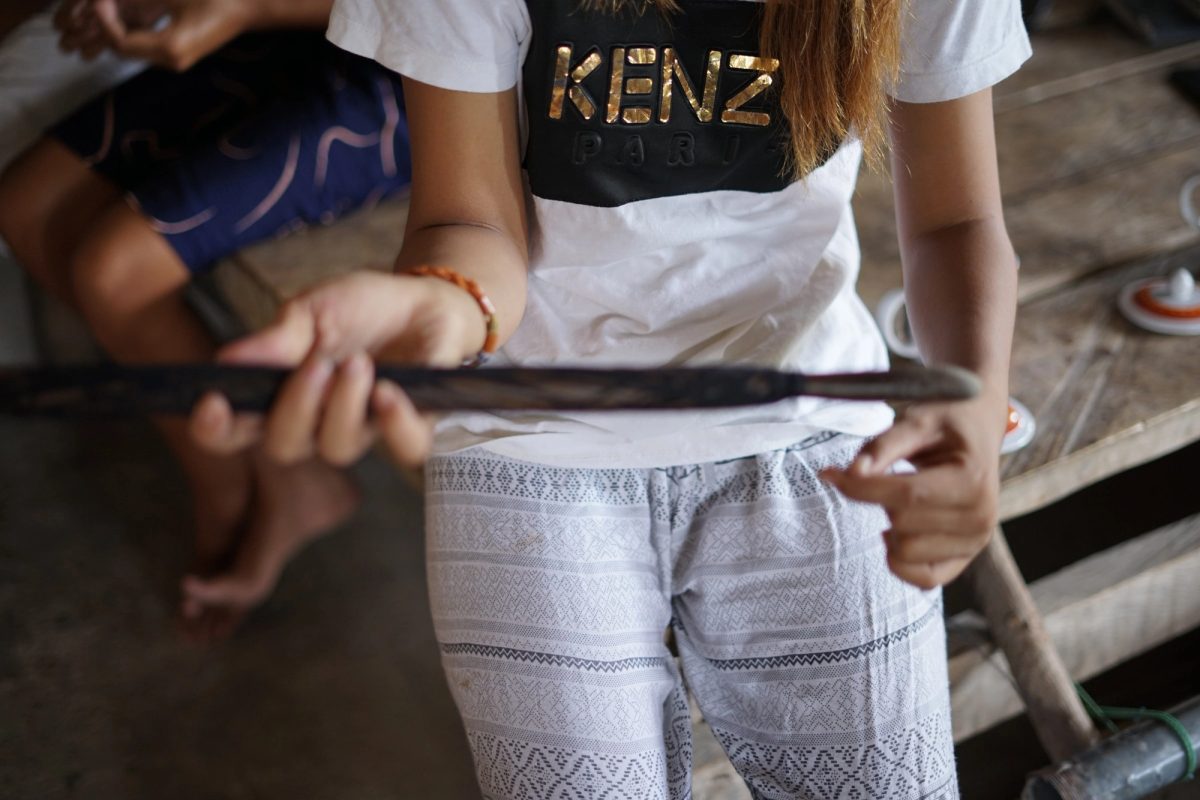
Preparing the weft
Weft yarn is wound onto a stick.
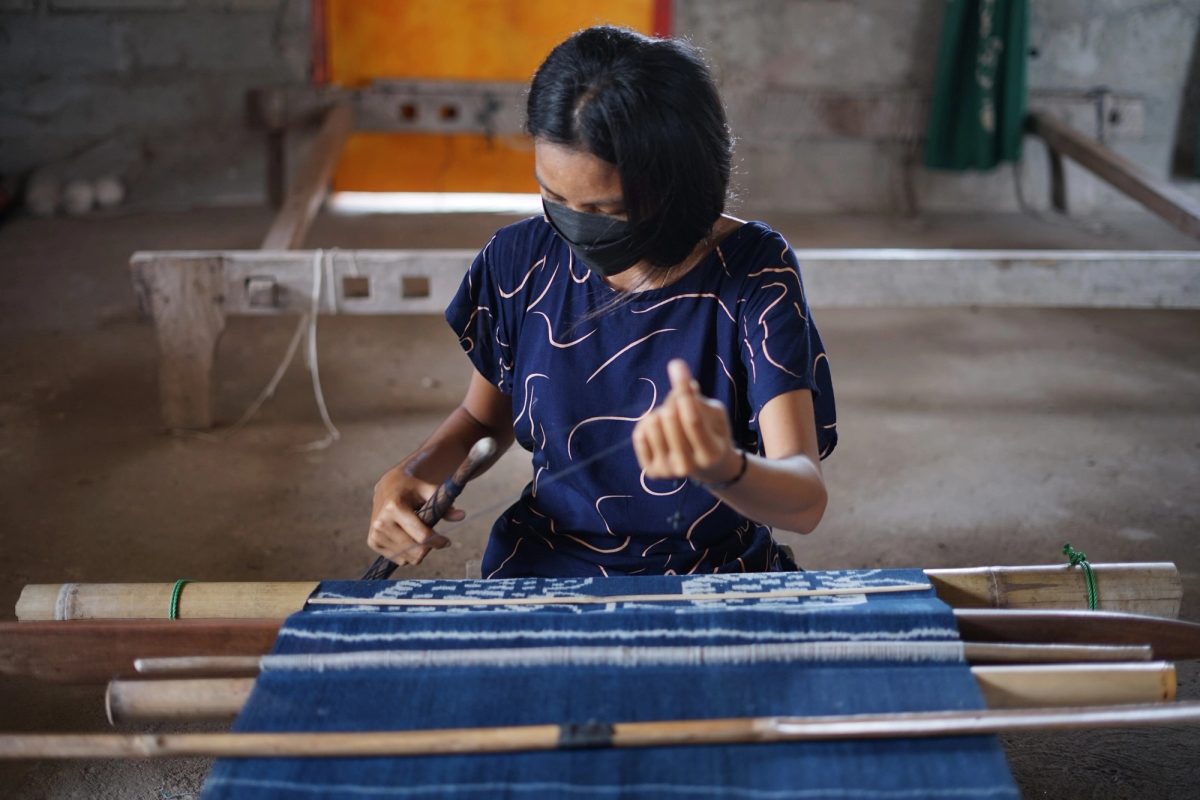
Beginning the weave
A slim bamboo piece marks the beginning of weaving.
Make it yourself
Stage 06 / 07 · 1 step
On the loom, the weft crosses the prepared warp one pass at a time. The many earlier decisions about thread, motif and colour finally meet in cloth. Weaving requires a steady rhythm and close attention so the pattern holds together along the full length.
Weaving the cloth
Weft crosses the warp on the loom to create cloth.
Make it yourself
Stage 07 / 07 · 5 steps
The woven length is released from the loom and made into the form it will be used in. Matching panels may be sewn into a Hinggi, or cloth may be joined into a Lau. Edges are secured, loose fringe is twisted into groups, and the ends are smoothed by hand.
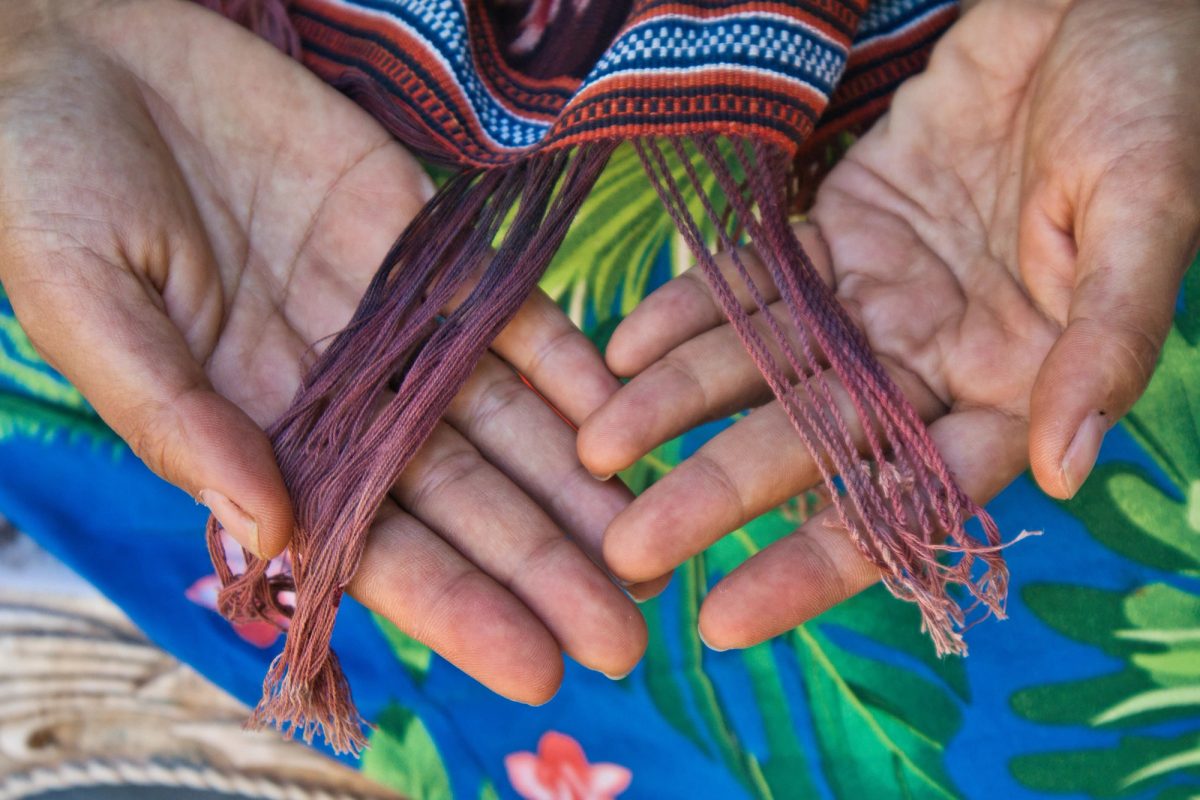
Finishing the woven length
Guide threads are removed and the woven cloth is cut free.
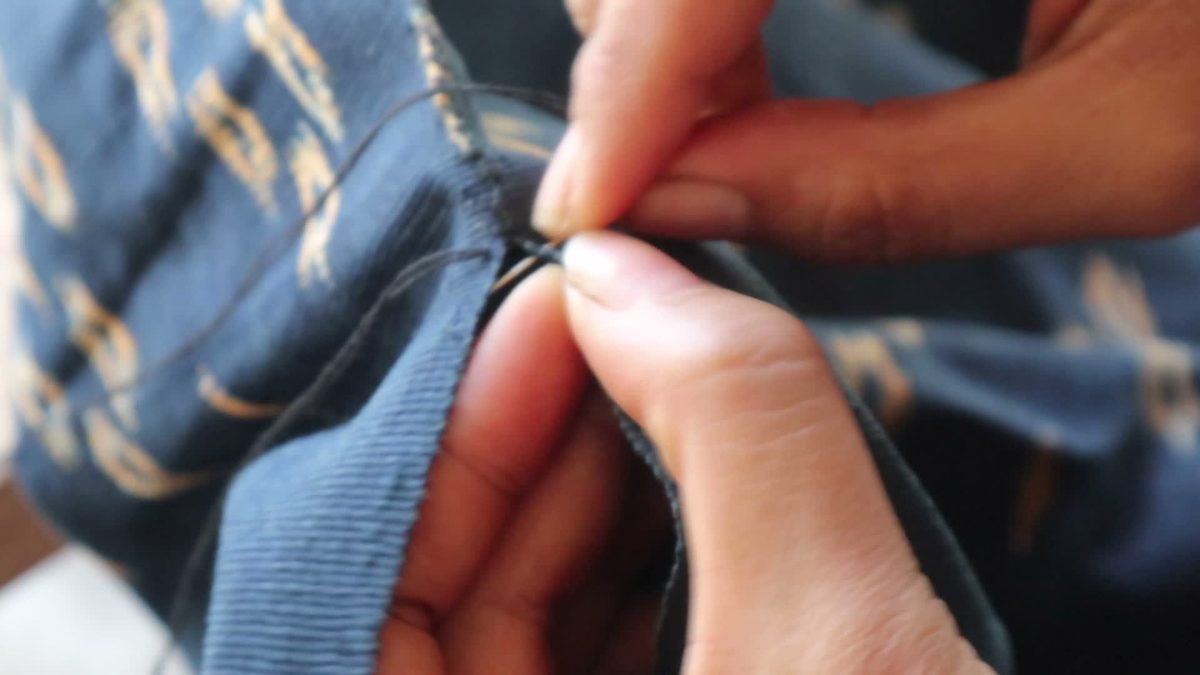
Joining the cloth
Matching panels are joined for a Hinggi, or cloth is sewn into a Lau.
Securing the edge
The cloth edge is woven across to keep the textile secure.
Twisting the fringe
Remaining fringe threads are twisted into neat groups.
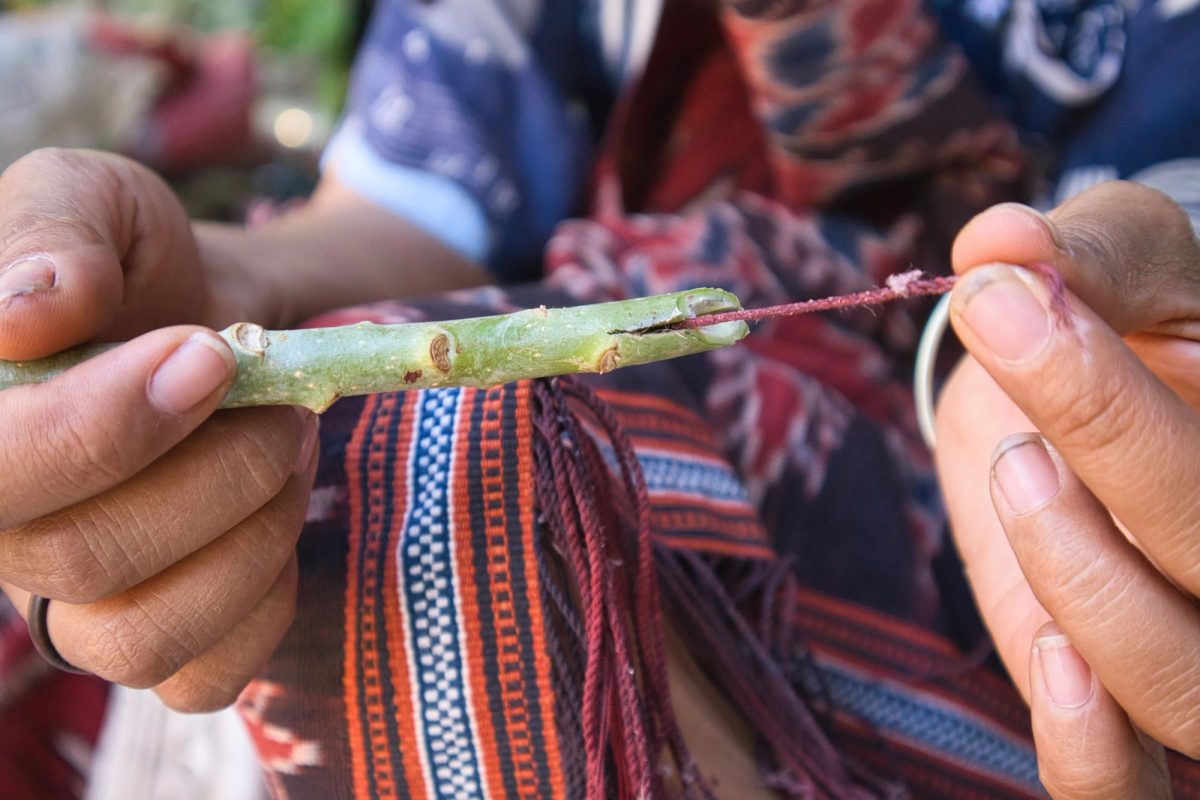
Final smoothing
The twisted ends are smoothed in the final finishing step.